Cisco SDWAN Self Hosted Lab Part 1
published: 2nd of June 2019
Intro
One of the posts I get contacted about the most is this one on how the setup a self hosted Viptela control plane. Since Cisco acquired Viptela the process has changed and is now (IMO) a bit simpler.
With the release of SDWAN software version 19.1.0 it is now possible to use virtual cEdges (CSR1Kv running SDWAN software) in your fabric. This is great because it allows you to test out features only available on the cEdge as well as get your cEdge templates ready without the need for a physical device (mostly).
This post turned out to be pretty long, so I have split it up into two part series. In the first part (this one) I will show you how to create a virtual account, add virtual Edge devices to the account and obtain a serial file. In the second part I will show you how the install the control plane along with a vEdge and cEdge utilizing an enterprise certificate authority.
Is this for me?
If you want to build a Cisco SDWAN lab with arbitrary topologies and/or at a time and place of your choosing then this series could be for you. If you are just looking to get your feet wet with Cisco SDWAN then check out the dCloud labs.
Pre Requisites
You will need permissions to create a virtual account in the Cisco software portal. You will additionally need access to create controller profiles and add software devices to a virtual account.
The following software will be used in this series of posts.
- vManage - 19.1.0
- vBond - 19.1.0
- vSmart - 19.1.0
- vEdge - 19.1.0
- cEdge - 16.11.1a
- Ubuntu (KVM host) - 1804
- libvirt - 4.0.0
You can download the required images from the Cisco software portal. You will need a valid service contract to download and use these images. I am building this lab on a KVM host, download the images for whatever type of hypervisor (VMWare, Hyper-V, etc..) you are using.
No, I cannot distribute the images. Please dont ask!
Alright, with all that out of the way, let get down to business.
Add Virtual Account
A virtual account is a logical container for groups of devices.
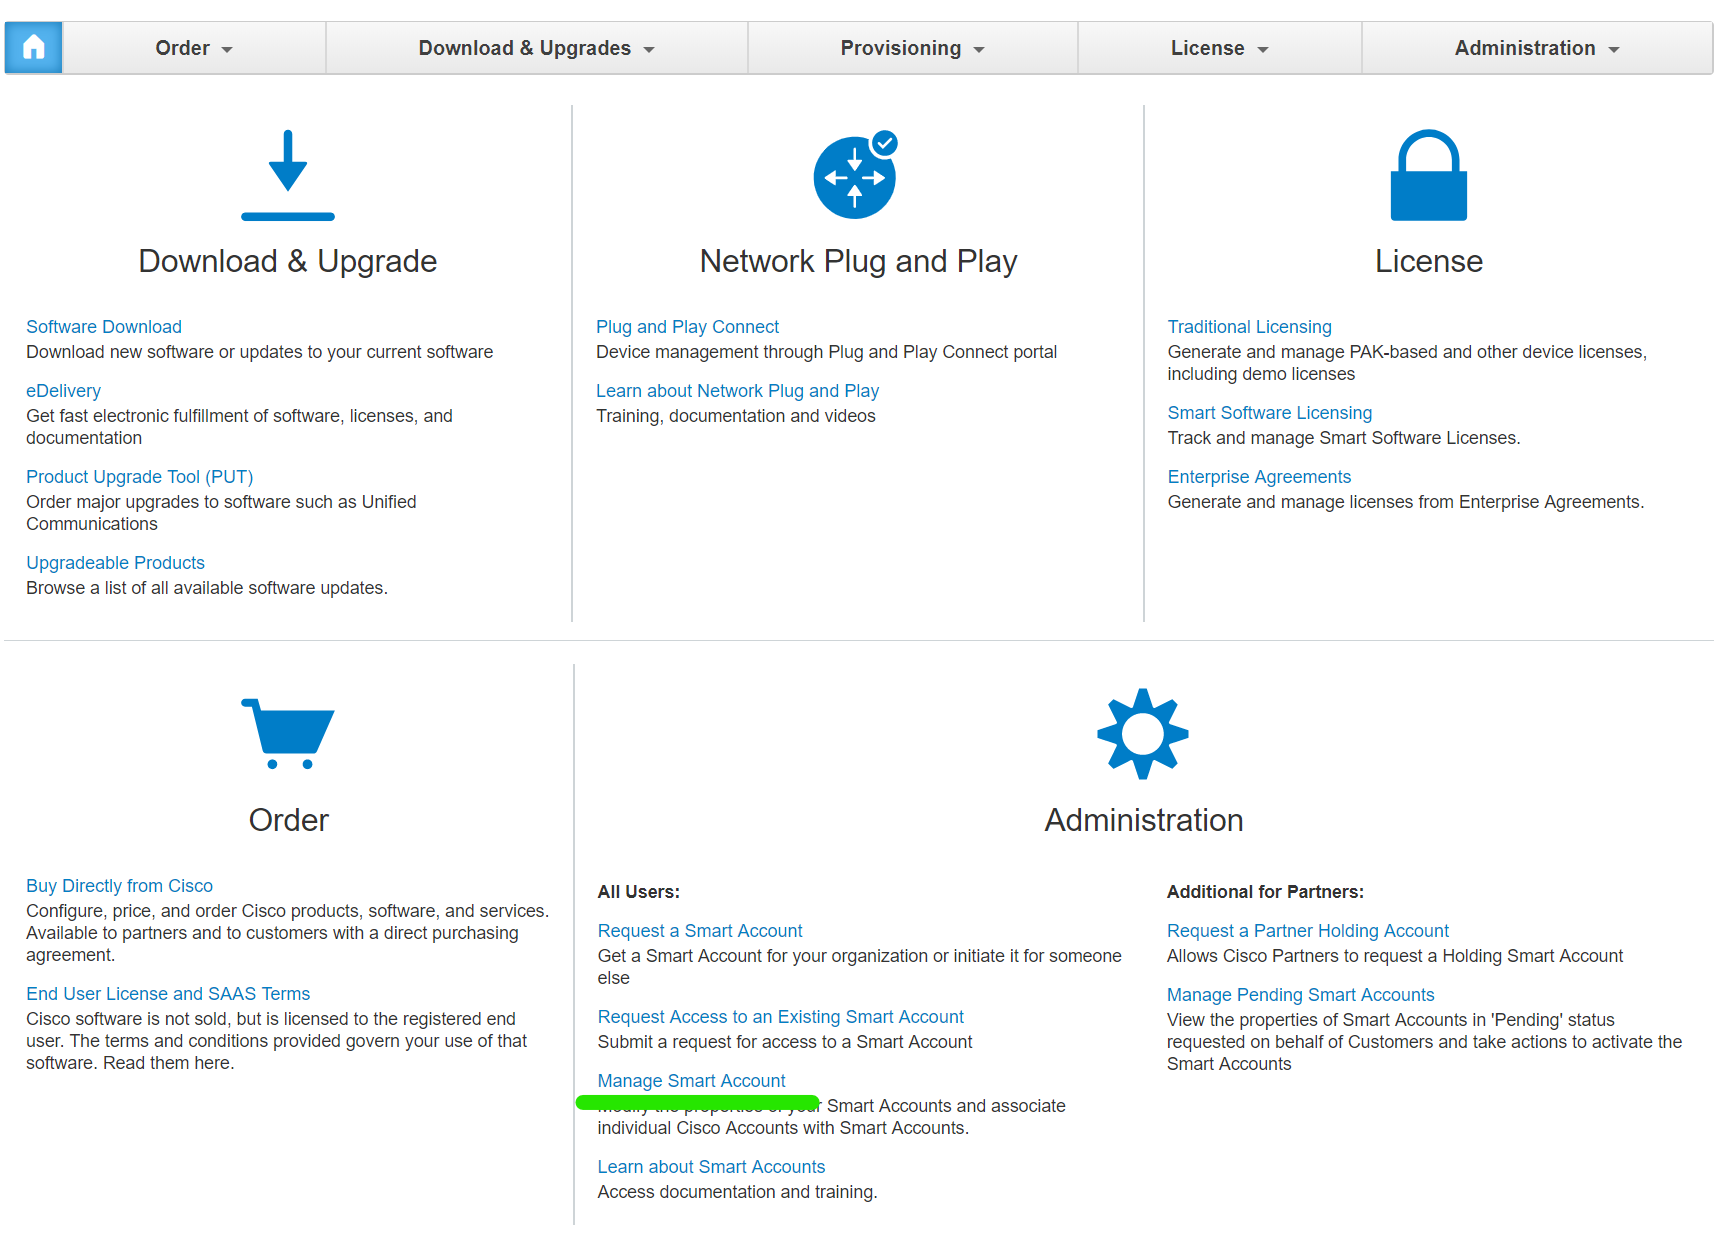
Navigate to https://software.cisco.com and select Manage Smart Account .
Select Virtual Accounts .

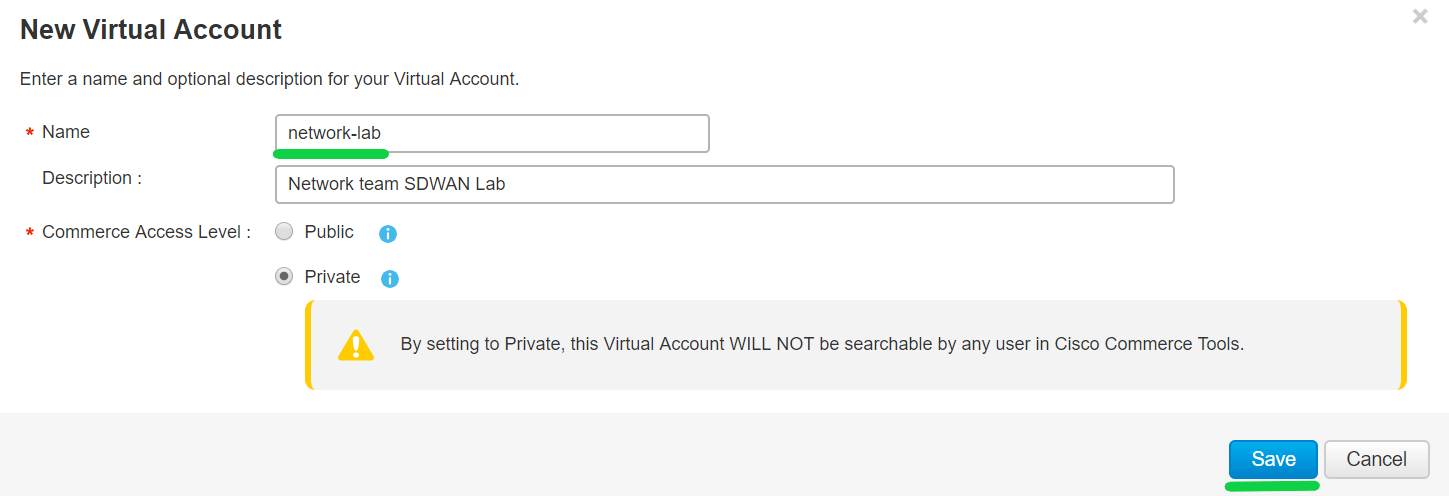
Select New Virtual Account .

Enter the details of the virtual account and select Save .
Add Controller Profile
You need to add a vBond controller profile in order to create virtual edges.
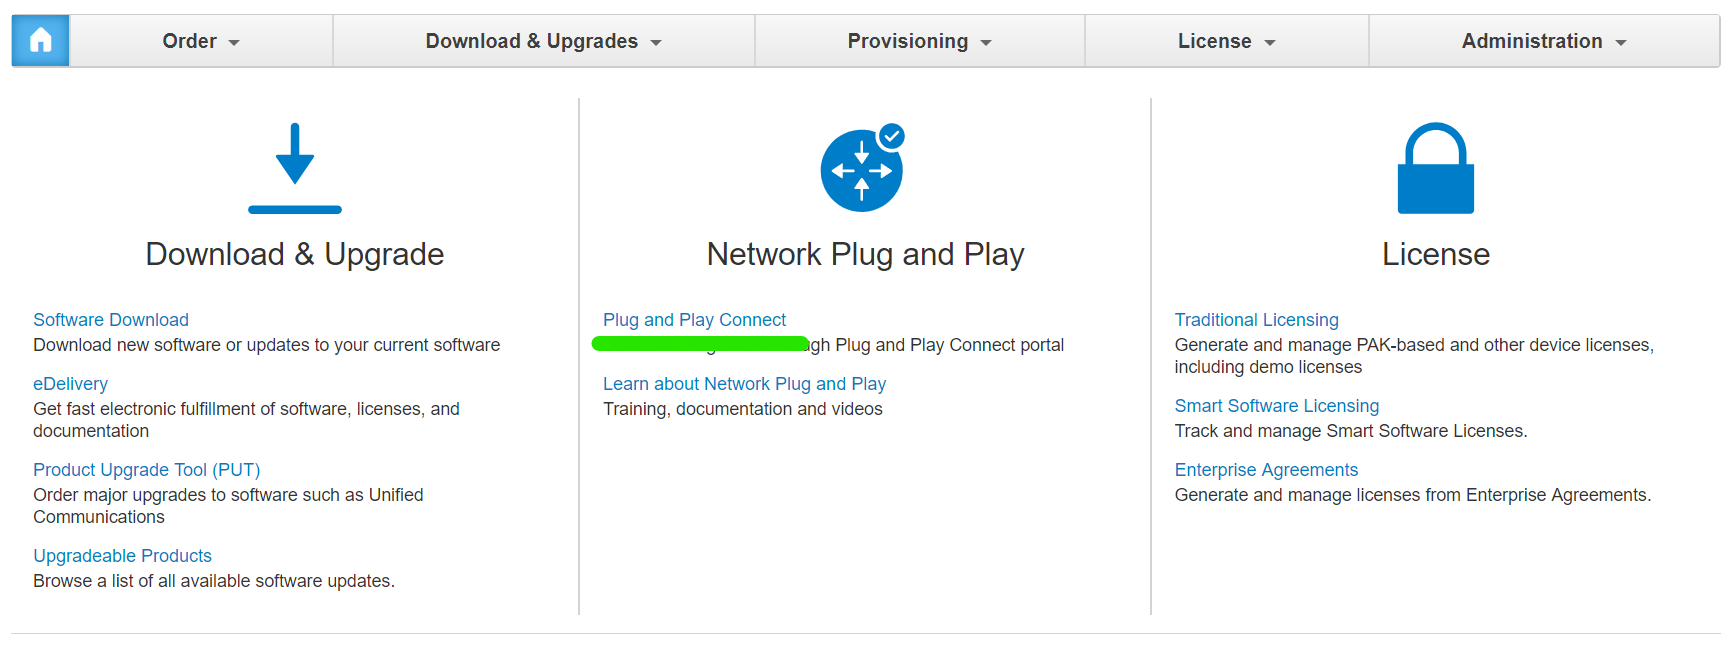
Navigate back to the main page and select Plug and Play Connect .
Select the Default dropdown then select the virtual account you created in the previous step.

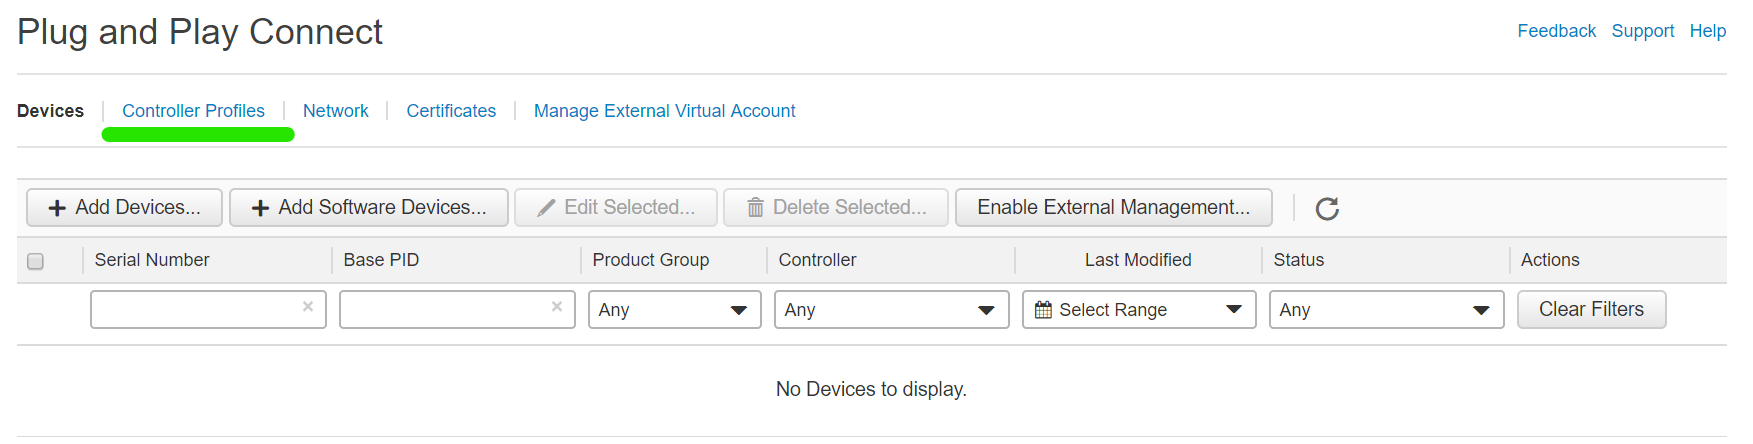
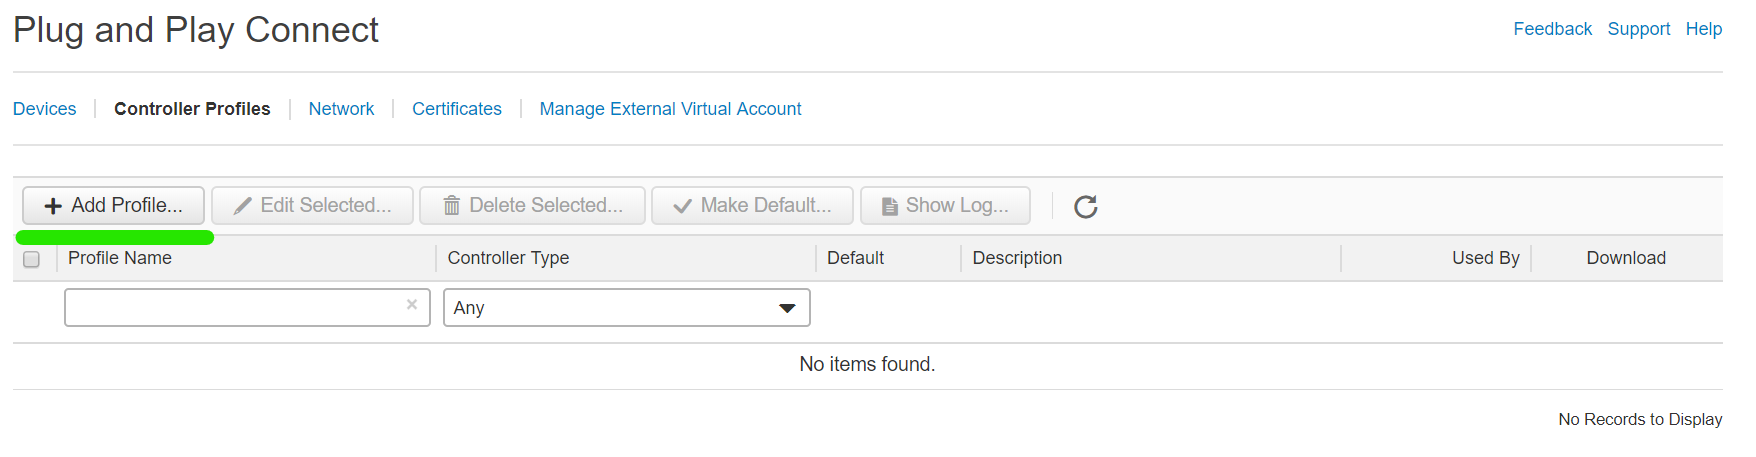
Select Controller Profiles .
Select Add Profile .
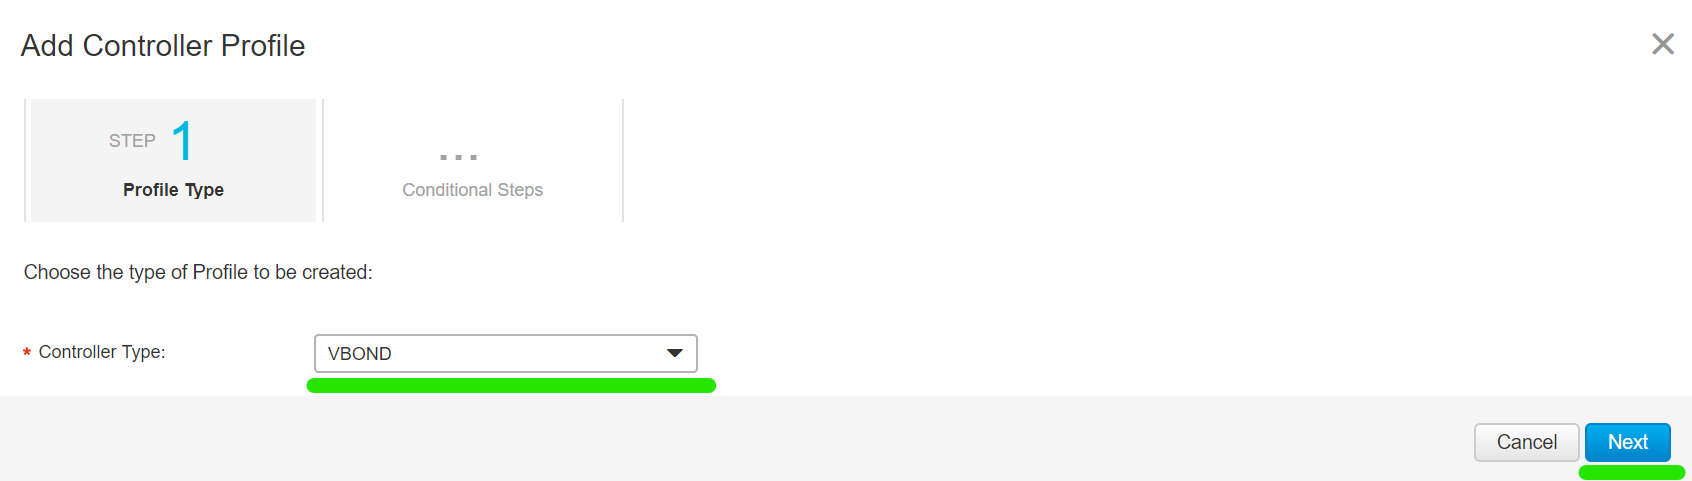
Change the controller type to VBOND then select Next .
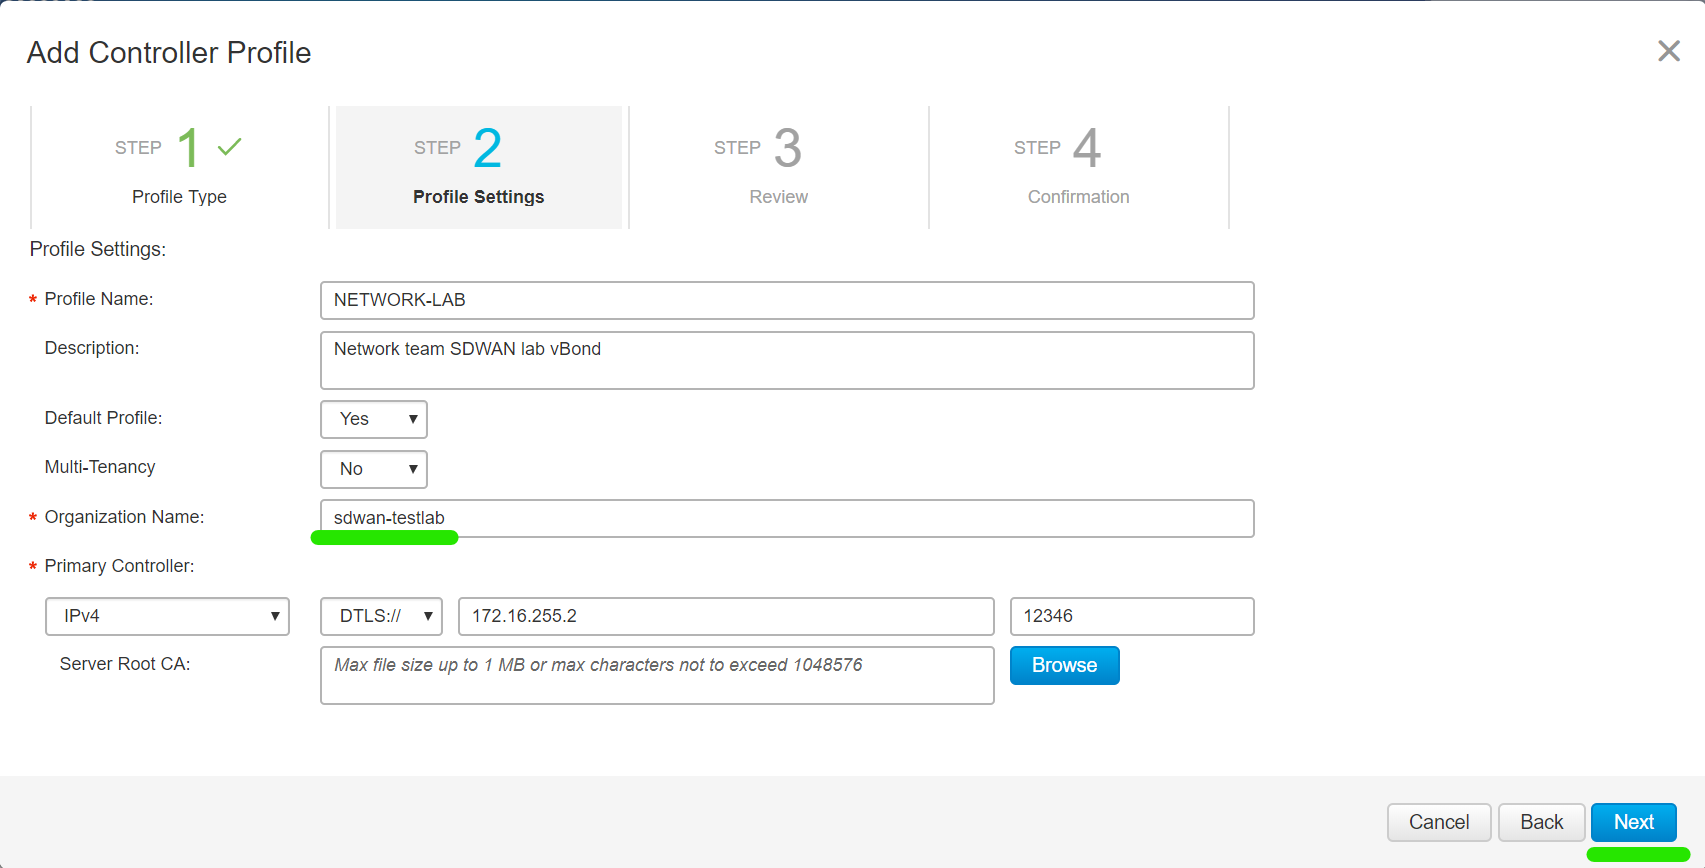
Enter the vBond details and select Next .
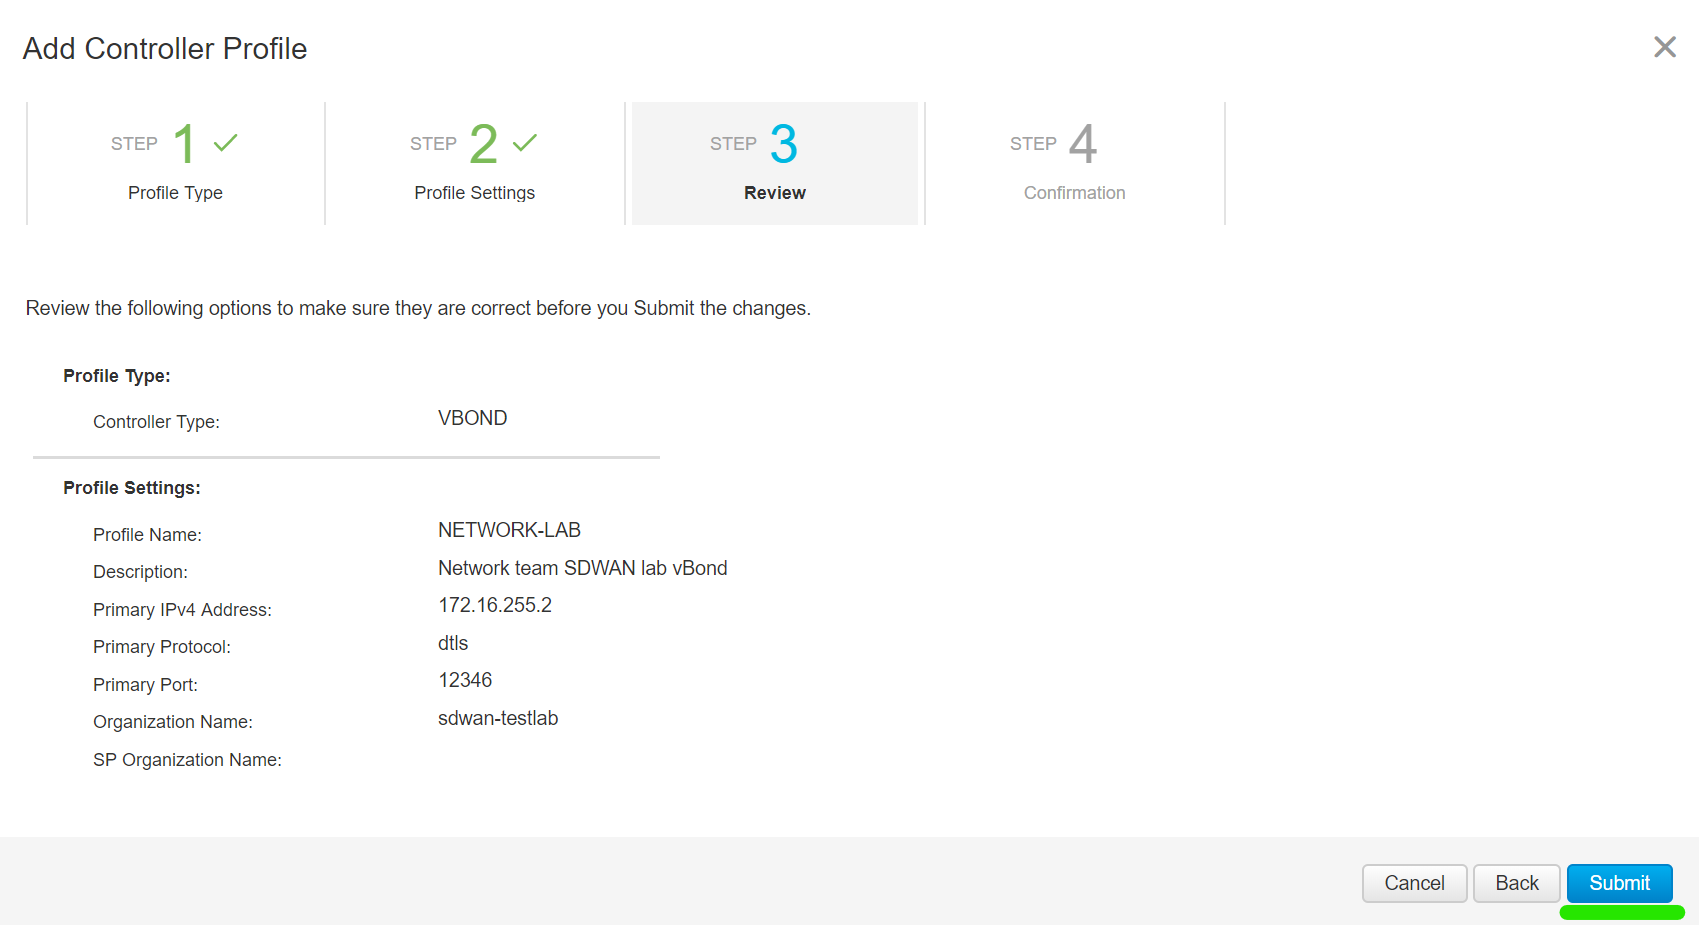
Select Submit .
Select Done .
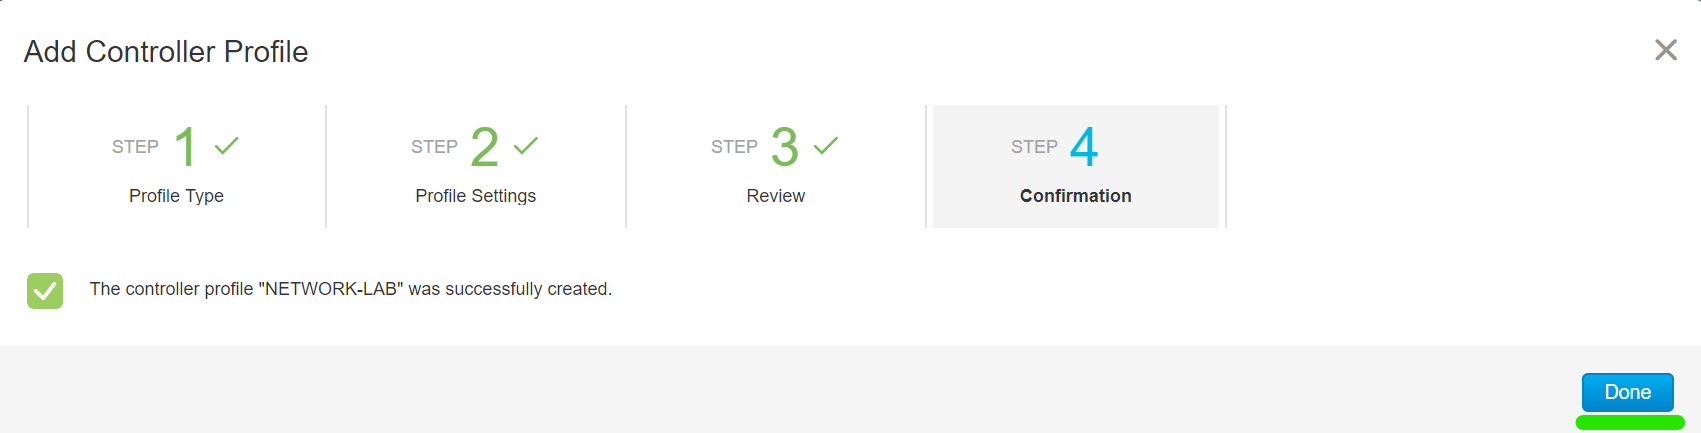
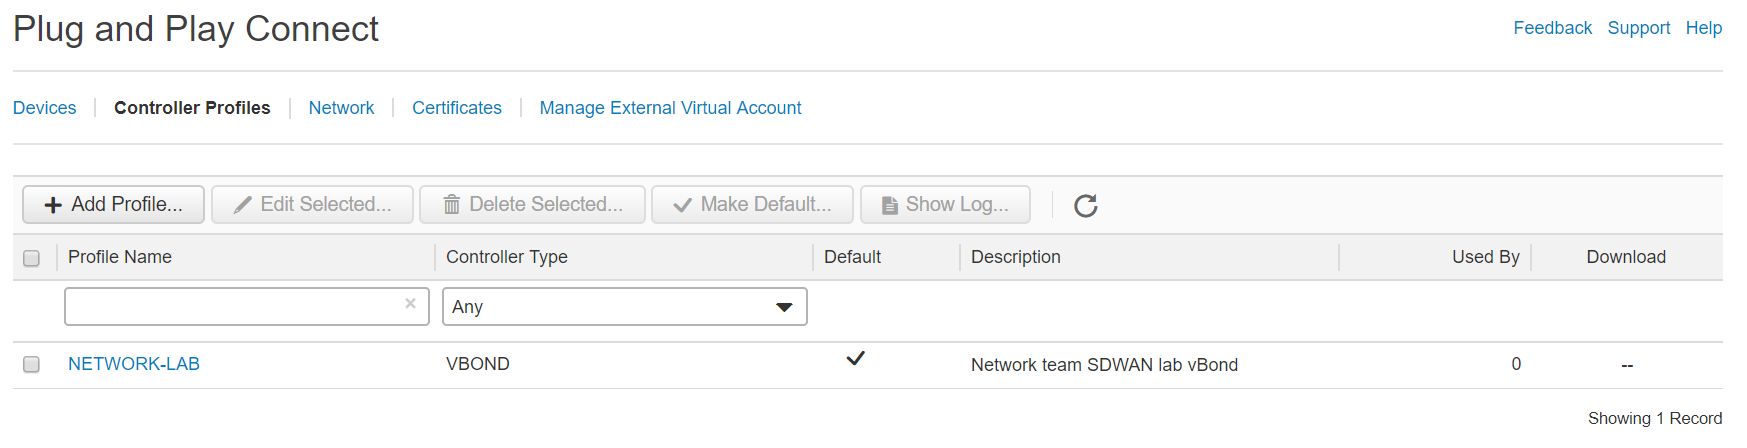
You should see your newly created controller profile in the list.
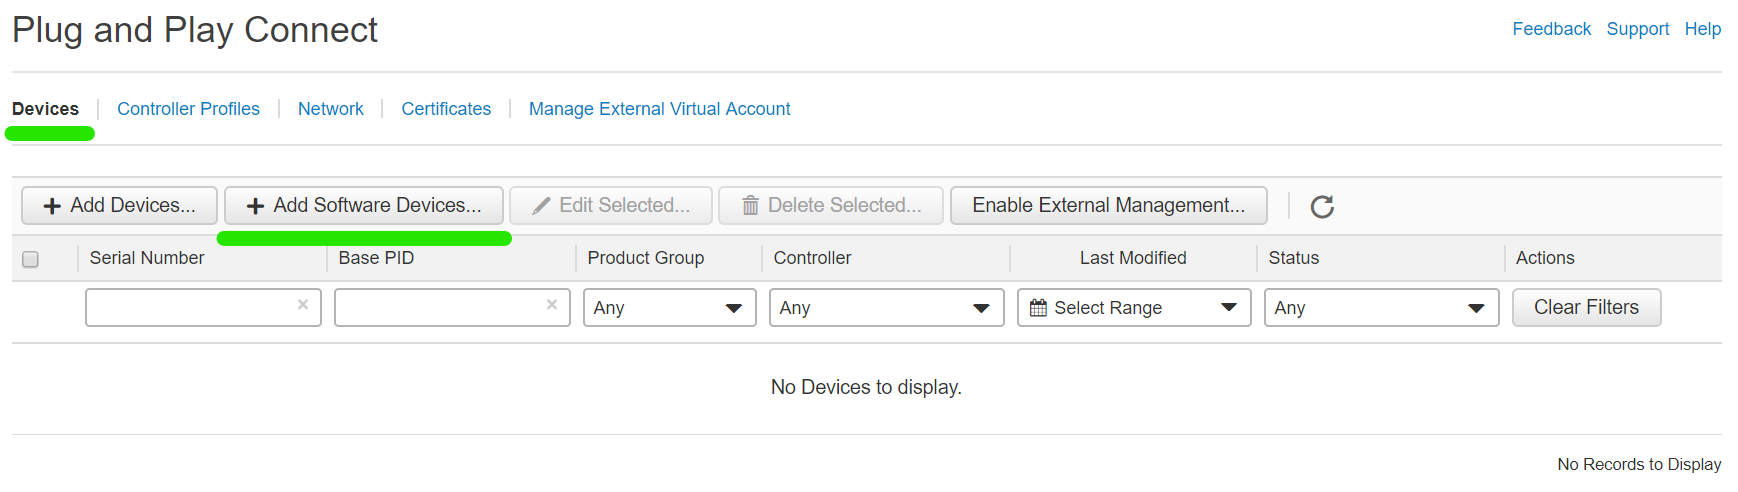
Add Virtual Edges
Now create some vEdge and cEdge devices so we can generate a serial file.
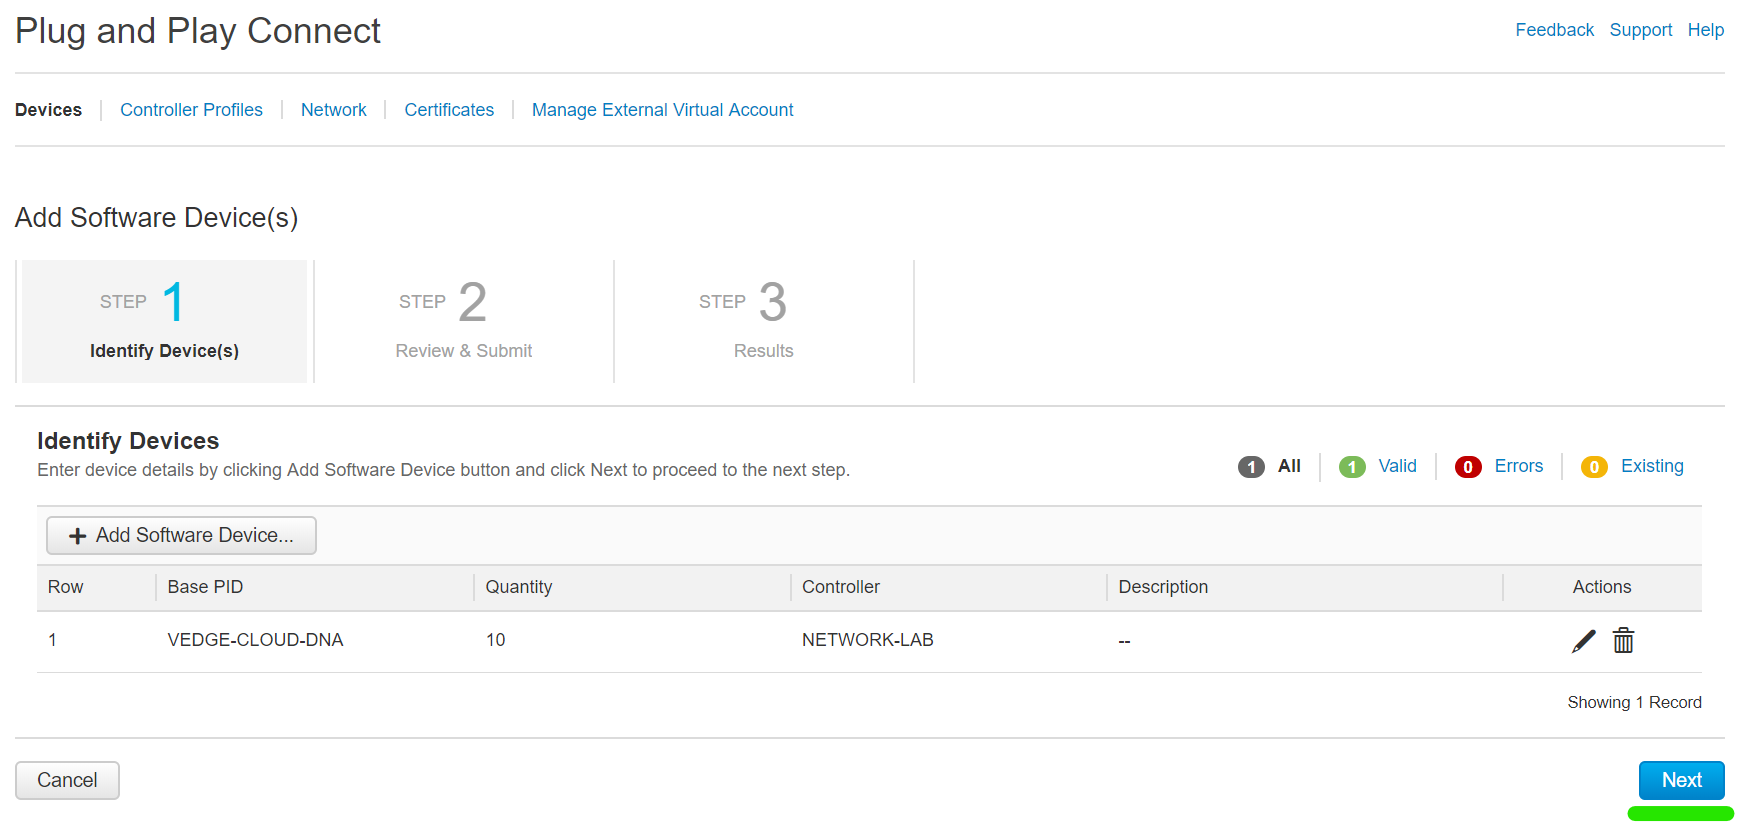
Navigate to Devices and select + Add Software Devices .
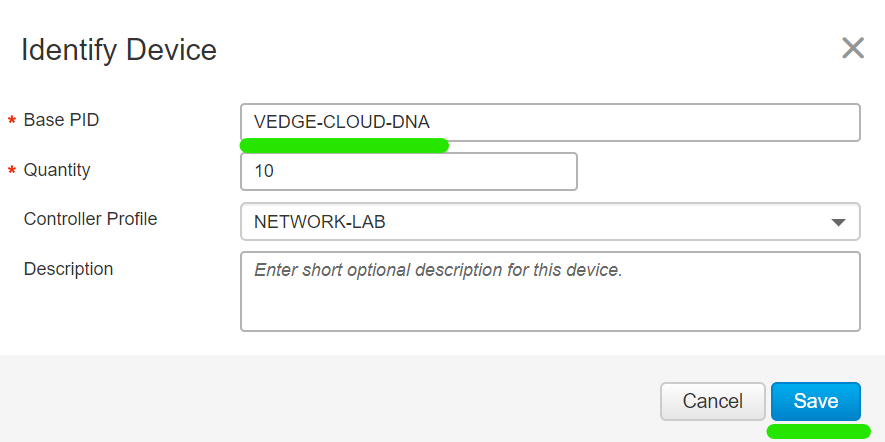
Select + Add Software Device .
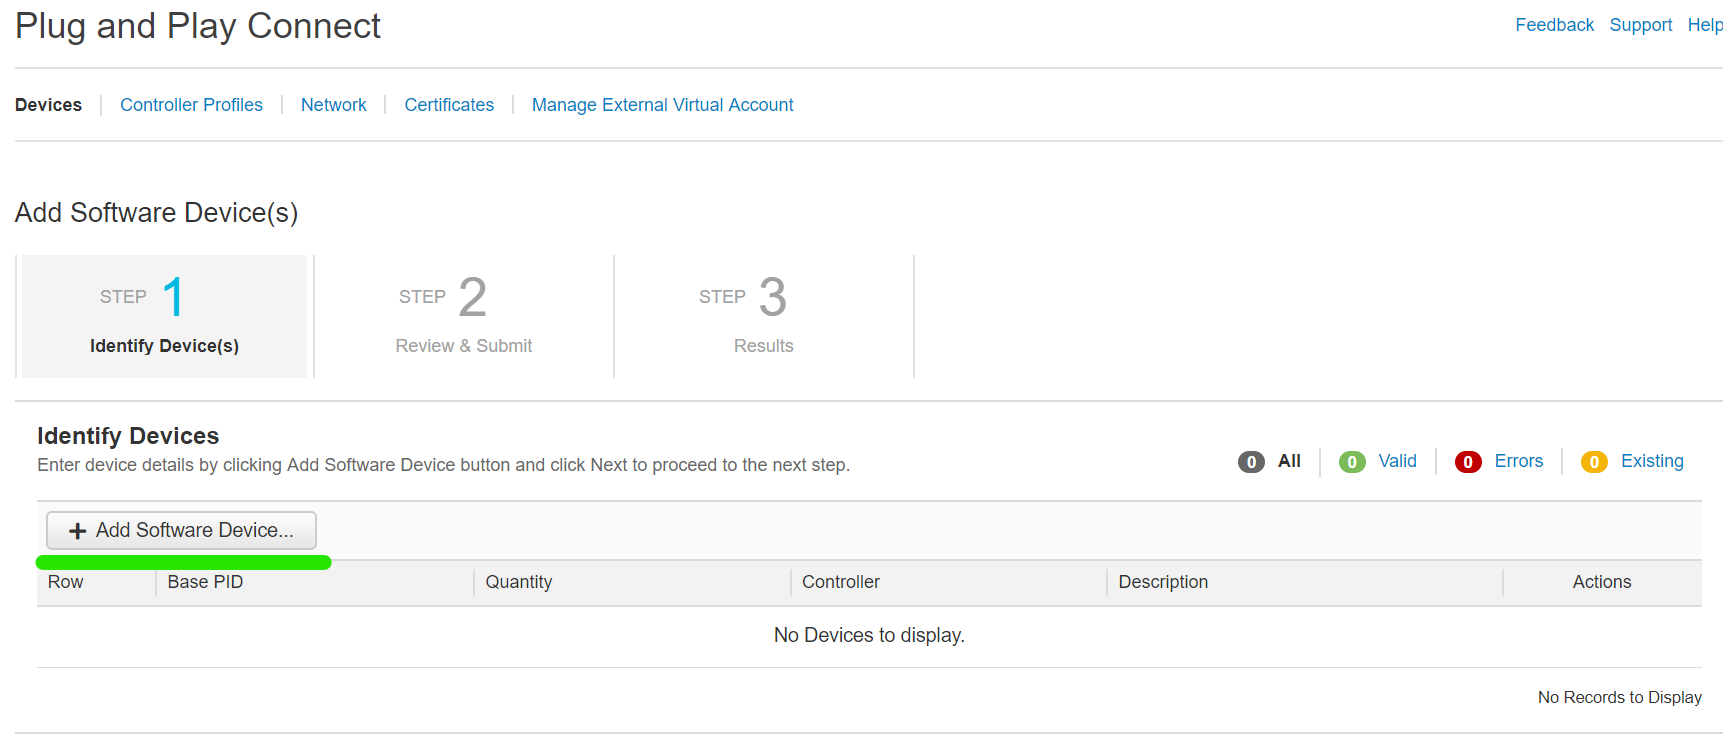
Enter the PID VEDGE-CLOUD-DNA for vEdges, specify the desired quantity and select Save .
Select Next .
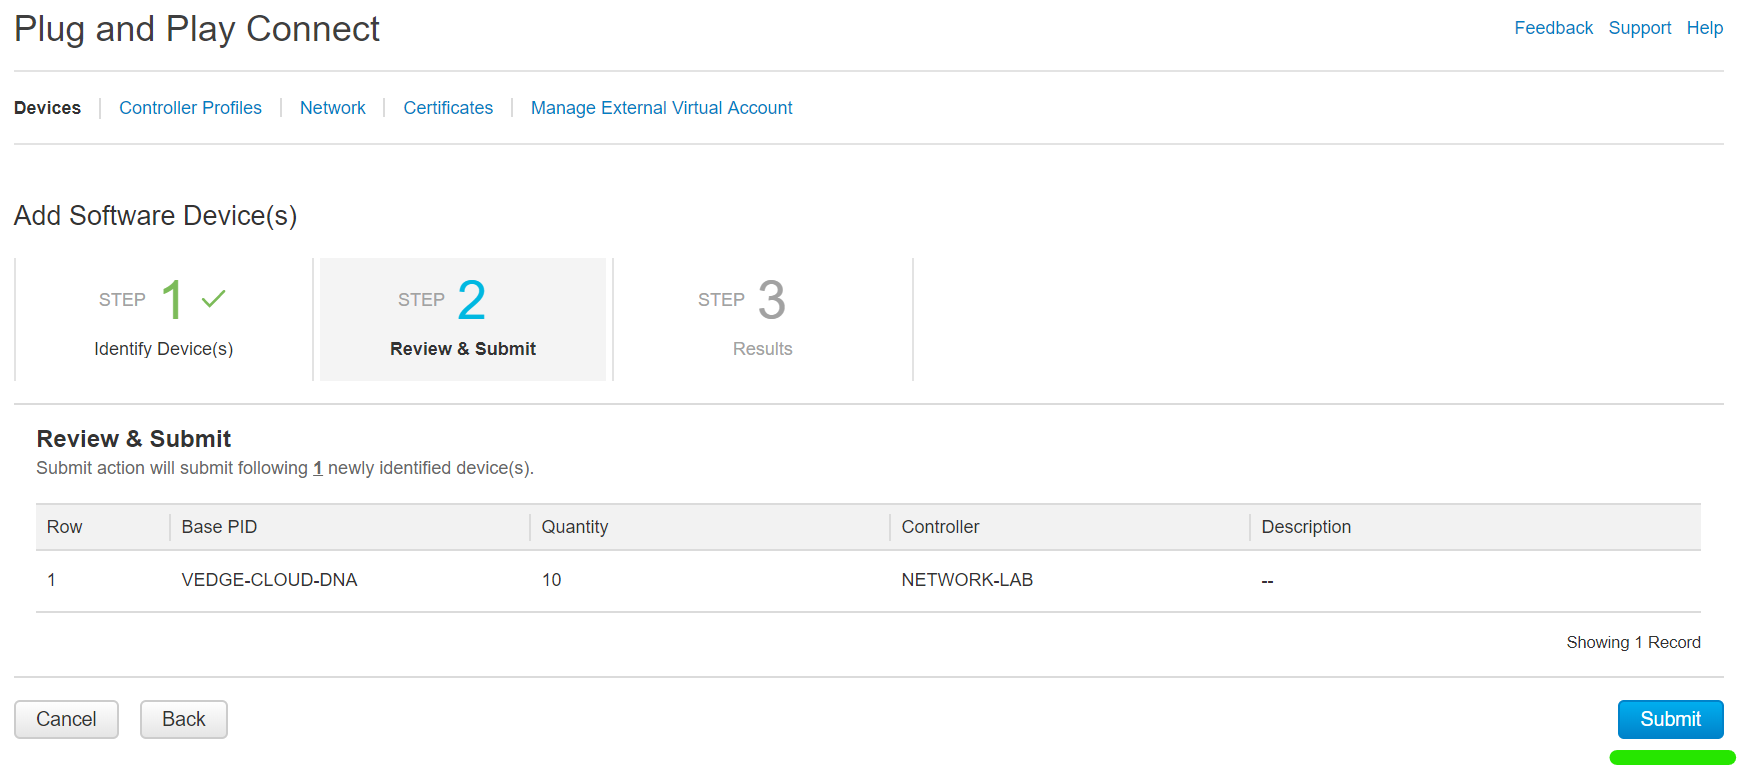
Select Submit .
Select Done .

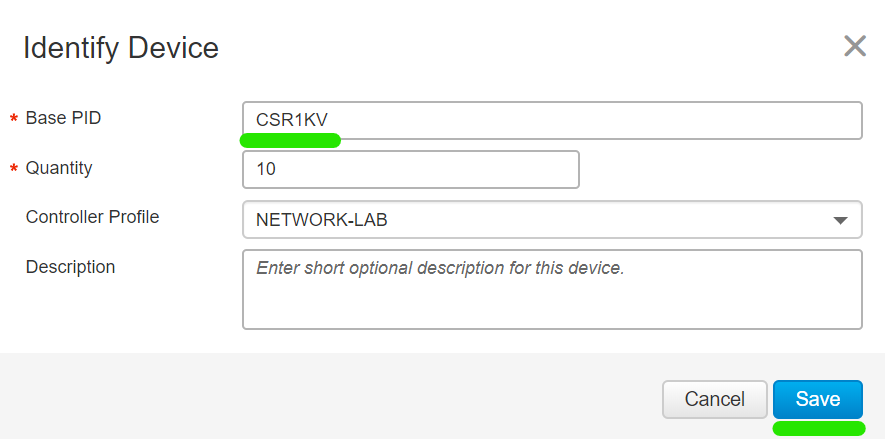
Rinse and repeat the process for cEdges but this time use: CSR1KV as the PID.
Once added devices will be in a Pending for publish state.

After a few minutes they will transition to the Provisioned state.

Serial File
This is it, the moment you have been waiting for, the all important serial file. The serial file is required to add edge devices to the fabric.
Navigate to Controller Profiles and select Provisioning File .
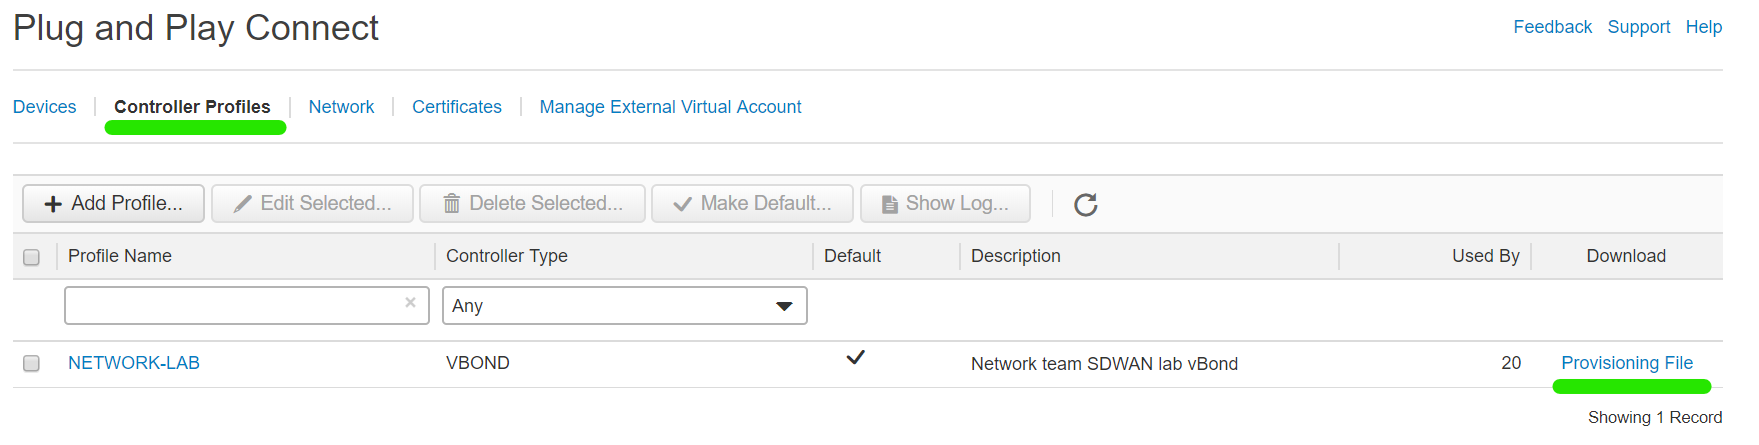
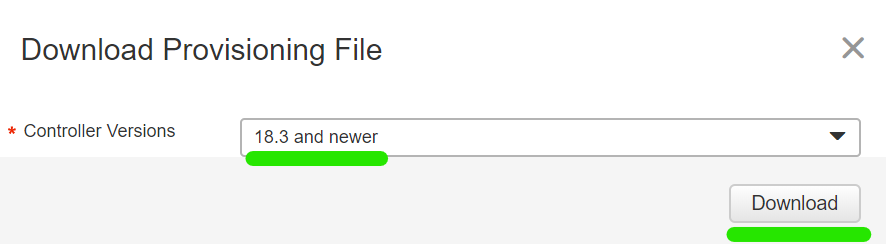
Select 18.3 and Newer from the dropdown and then select Download . Save the file to a safe location to import into the vManage at a future time.
Outro
We created a Virtual account, controller profile added software vEdge and cEdge devices and have our all important serial file in hand. Lets move onto part 2 and finalize the lab setup.