CI/CD For Networking Part 5
published: 28th of February 2018
Intro
Ansible AWX is the upstream open source project to Ansible Tower.
For this part of the series AWX will be installed on a Centos 7 minimal host with the firewall service disabled and SELinux set to permissive. Nginx will be utilized as a reverse proxy for HTTP/S traffic to the AWX application.
Install
The hosts in this lab get their management IP addresses via DHCP. An update to the /etc/sysconfig/network-scripts/ifcfg-eth0 file is required to use the labs dnsmasq service.
DEVICE="eth0"
BOOTPROTO="dhcp"
ONBOOT="yes"
TYPE="Ethernet"
PERSISTENT_DHCLIENT="yes"

# add the following

DNS1="192.168.121.120"
PEERDNS=no
Restart the network service.
sudo systemctl restart networkInstall the AWX dependencies.
sudo yum install -y epel-release
sudo yum install -y git gettext nodejs npm gcc-c++ bzip2
Install the ansible and docker python libraries via PIP to get the latest stable releases.
sudo /usr/local/bin/pip2 install ansible dockerInstall Docker
The default YUM repo has a very old version of Docker. It's best to install Docker from the Docker maintained repositories but first, remove any old versions of Docker.
sudo yum remove -y docker docker-common docker-selinux docker-engineInstall Docker dependencies.
sudo yum install -y yum-utils device-mapper-persistent-data lvm2Add the Docker community edition repository.
sudo yum-config-manager --add-repo https://download.docker.com/linux/centos/docker-ce.repoInstall Docker community edition.
sudo yum install -y docker-ceStart and enable docker service
sudo systemctl start docker
sudo systemctl enable docker
Install AWX
Clone AWX Git repo.
sudo mkdir /opt/ansible && cd /opt/ansible

sudo git clone https://github.com/ansible/awx.git
We will customize the AWX installation by making some changes to the /opt/ansible/awx/installer/inventory file.
If you followed my guide on upgrading python2/3 then you will need to change the ansible_python_interpreter variable.
#/opt/ansible/awx/installer/inventory


# old

localhost ansible_connection=local ansible_python_interpreter="/usr/bin/env python"

# new

localhost ansible_connection=local ansible_python_interpreter="/usr/local/bin/python2.7"
Change the AWX admin user password.
#/opt/ansible/awx/installer/inventory


# old

# default_admin_password=password

# new

default_admin_password=Vagrant123
Change the database storage location.
#/opt/ansible/awx/installer/inventory


# old

postgres_data_dir=/tmp/pgdocker

# new

postgres_data_dir=/var/lib/pgdocker/
Nginx will proxy HTTP/S connections to AWX so change the AWX port.
#/opt/ansible/awx/installer/inventory


# old

host_port=80

# new

host_port=127.0.0.1:8052
Run the AWX install playbook.
cd /opt/ansible/awx/installer/

sudo /usr/local/bin/ansible-playbook -i inventory install.yml
Nginx
The AWX installer does not currently support enabling HTTPS. An Nginx container will be utilized to reverse proxy HTTPS to the AWX container.
Create a directory for the Nginx Docker container configs and SSL certificates.
sudo mkdir -p /opt/awx-nginx-docker/Generate an SSL certificate and have it signed by the root CA.
cd /etc/ssl/certs

sudo openssl genrsa -out awx.lab.local.key 2048

sudo openssl req -new -key awx.lab.local.key \
    -subj "/C=AU/ST=NSW/L=NSW/O=LAB/CN=awx.lab.local" \
    -out awx.lab.local.csr
Update the awx.lab.local.key permissions.
sudo chmod 0400 awx.lab.local.keyHave CSR signed by the Root CA then add the signed awx.lab.local.crt certificate and the awx.lab.local.key key to the /opt/awx-nginx-docker/ directory on the awx host.
# on the root CA host.

cd /etc/ssl/certs

sudo openssl x509 -req -in awx.lab.local.csr \
    -CA ROOTCA.pem -CAkey ROOTCA.key -CAcreateserial \
-out awx.lab.local.crt -days 500 -sha256# on the awx host.
sudo cp /etc/ssl/certs/awx.lab.local.{crt,key} /opt/awx-nginx-docker/
sudo ls /opt/awx-nginx-docker/ | grep awx
awx.lab.local.crt
awx.lab.local.keyCreate a Dockerfile file with the following contents in the /opt/awx-nginx-docker/ directory.
# /opt/awx-nginx-docker/Dockerfile

FROM nginx:alpine
RUN mkdir -p /etc/ssl
RUN mkdir -p /etc/nginx/
COPY awx.lab.local.crt /etc/ssl/certs/awx.lab.local.crt
COPY awx.lab.local.key /etc/ssl/certs/awx.lab.local.key
COPY nginx.conf /etc/nginx/nginx.conf
Create an nginx.conf file with the following contents.
# /opt/awx-nginx-docker/nginx.conf

user nginx;
worker_processes 1;

error_log /var/log/nginx/error.log warn;
pid /var/run/nginx.pid;

events {
    worker_connections 1024;
}

http {
    server {
        listen      80;
        server_name awx.lab.local;
        rewrite     ^  https://$host$request_uri? permanent;
    }
    server {
        listen              443;
        server_name         awx.lab.local;

        ssl on;
        ssl_certificate /etc/ssl/awx.lab.local.crt;
        ssl_certificate_key /etc/ssl/awx.lab.local.key;

        location / {
            proxy_pass          http://awx_web:8052;
            proxy_set_header    Host $host;
            proxy_set_header X-Real-IP $remote_addr;
            proxy_set_header X-Forwarded-For $proxy_add_x_forwarded_for;
            proxy_set_header X-Forwarded-Proto $scheme;
        }
    }
}
Build the Nginx container.
sudo docker image build -t awx-nginx .Start the Nginx container.
sudo docker container run -d --name awx-nginx -p 80:80 -p 443:443 --link awx_web:awx_web awx-nginxTest
Once the Nignx Docker container is started login to AWX via the web GUI.
Browse to the AWX url https://<awx-hostname-or-ip> and login with the username admin and the password is Vagrant123 .
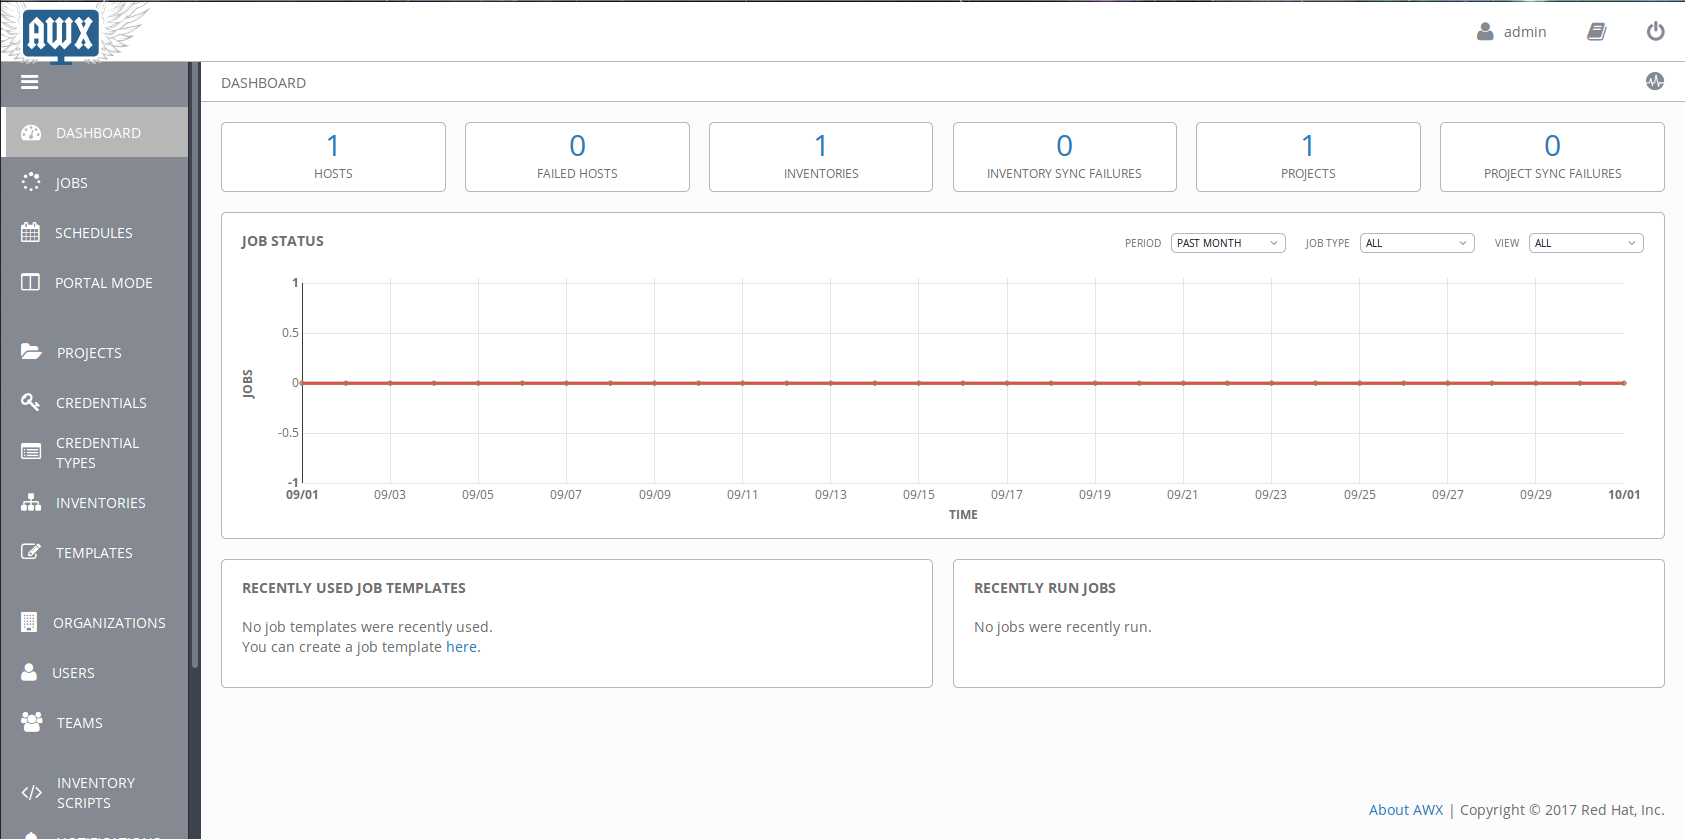
The dashboard looks like this

Outro
Next up in part 6 of this series: