CI/CD For Networking Part 4
published: 27th of February 2018
Intro
Jenkins is and open source project that helps to build, test and deploy code. Jenkins is a very mature project in the CI/CD space and has the ability to perform many automation tasks with the help of plugins.
For this part of series Jenkins will be installed on a Centos 7 minimal hosts with the firewall service disabled and SELinux set to permissive.
Install
The hosts in this lab get their management IP addresses via DHCP. An update to the /etc/sysconfig/network-scripts/ifcfg-eth0 file is required to use the labs dnsmasq service.
DEVICE="eth0"
BOOTPROTO="dhcp"
ONBOOT="yes"
TYPE="Ethernet"
PERSISTENT_DHCLIENT="yes"

# add the following

DNS1="192.168.121.120"
PEERDNS=no
Restart the network service.
sudo systemctl restart networkInstall the required packages.
sudo yum install -y git java-1.8.0-openjdk.x86_64Add the Jenkins repo and import the GPG key.
sudo curl -o /etc/yum.repos.d/jenkins.repo http://pkg.jenkins-ci.org/redhat-stable/jenkins.repo
sudo rpm --import https://jenkins-ci.org/redhat/jenkins-ci.org.key
Update yum to enable the Jenkins repo.
sudo yum update -yInstall Jenkins.
sudo yum install -y jenkinsStart and enable Jenkins.
sudo systemctl start jenkins
sudo systemctl enable jenkins
Configuration
Disable the post installation lock screen.
sudo bash -c 'echo 2.0 >> /var/lib/jenkins/jenkins.install.InstallUtil.lastExecVersion'
sudo chown jenkins:jenkins /var/lib/jenkins/jenkins.install.InstallUtil.lastExecVersion
Set the admin users password to Vagrant123 .
sudo sed -i 's/.*passwordHash.*/ <passwordHash>#jbcrypt:$2a$10$29oSBz38iNlRhmyl7qx7..yhQlzkoLjne\/.galQ5QwA3wA3jJLdFa<\/passwordHash>/' /var/lib/jenkins/users/admin/config.xmlDownload the jenkins-cli package.
curl -O http://localhost:8080/jnlpJars/jenkins-cli.jarCreate a vagrant user and set the password to Vagrant123 .
echo 'jenkins.model.Jenkins.instance.securityRealm.createAccount("vagrant", "Vagrant123")' |
> java -jar jenkins-cli.jar -s http://admin:Vagrant123@localhost:8080 groovy =
Restart Jenkins.
sudo systemctl restart jenkinsPlugins
Install the plugins.
java -jar jenkins-cli.jar -s http://admin:Vagrant123@localhost:8080 install-plugin {git,gitlab-plugin,job-dsl,workflow-aggregator,workflow-cps,slack,webhook-step,blueocean}Restart the jenkins service.
sudo systemctl restart jenkinsInstall Nginx
It's possible to enable HTTPS within the Jenkins application but for this series I will use Nginx to provide a HTTPS frontend and reverse proxy to the Jenkins application in the backend.
Create an nginx.repo file in the /etc/yum.repos.d/ directory with the following contents.
# /etc/yum.repos.d/nginx.repo

[nginx]
name=nginx repo
baseurl=http://nginx.org/packages/centos/$releasever/$basearch/
gpgcheck=0
enabled=1
Update yum and install nginx .
sudo yum update -y && sudo yum install -y nginxGenerate an ssl key and a certificate signing request. The CSR will need to be signed by the root CA.
cd /etc/ssl/certs/

sudo openssl genrsa -out jenkins.lab.local.key 2048

sudo openssl req -new -key jenkins.lab.local.key \
    -subj "/C=AU/ST=NSW/L=NSW/O=LAB/CN=jenkins.lab.local" \
    -out jenkins.lab.local.csr
Update the jenkins.lab.local.key permissions.
sudo chmod 0400 jenkins.lab.local.keyHave CSR signed by the Root CA then add the signed jenkins.lab.local.crt certificate to the /etc/ssl/certs directory on the jenkins host.
# on the root CA host.

cd /etc/ssl/certs

sudo openssl x509 -req -in jenkins.lab.local.csr \
    -CA ROOTCA.pem -CAkey ROOTCA.key -CAcreateserial \
-out jenkins.lab.local.crt -days 500 -sha256# on the jenkins host.
[vagrant@localhost certs]$ ls /etc/ssl/certs/ | grep jenkins
jenkins.lab.local.crt
jenkins.lab.local.csr
jenkins.lab.local.keyCreate a symlink to the jenkins.lab.local.key and jenkins.lab.local.crt files to the /etc/nginx/ssl directory.
sudo mkdir -p /etc/nginx/ssl
sudo chmod 700 /etc/nginx/ssl
sudo ln -s /etc/ssl/certs/jenkins.lab.local.key  /etc/nginx/ssl/jenkins.lab.local.key
sudo ln -s /etc/ssl/certs/jenkins.lab.local.crt  /etc/nginx/ssl/jenkins.lab.local.crt
Create an /etc/nginx/sites-available/ directory for the site config files.
sudo mkdir /etc/nginx/sites-available/Create an /etc/nginx/sites-available/jenkins.conf file with the below contents.
server {
    listen 443 ssl;
    server_name jenkins.lab.local;

    ssl on;
    ssl_certificate /etc/nginx/ssl/jenkins.lab.local.crt;
    ssl_certificate_key /etc/nginx/ssl/jenkins.lab.local.key;

    location / {
        proxy_pass http://127.0.0.1:8080;
        proxy_set_header Host $host;
        proxy_set_header X-Real-IP $remote_addr;
        proxy_set_header X-Forwarded-For $proxy_add_x_forwarded_for;
        proxy_set_header X-Forwarded-Proto $scheme;
    }
}
Create a symlink from the /etc/nginx/sites-available/ file into the /etc/nginx/config.d/ directory.
sudo ln -s /etc/nginx/sites-available/jenkins.conf /etc/nginx/conf.d/jenkins.confRestart the nginx service.
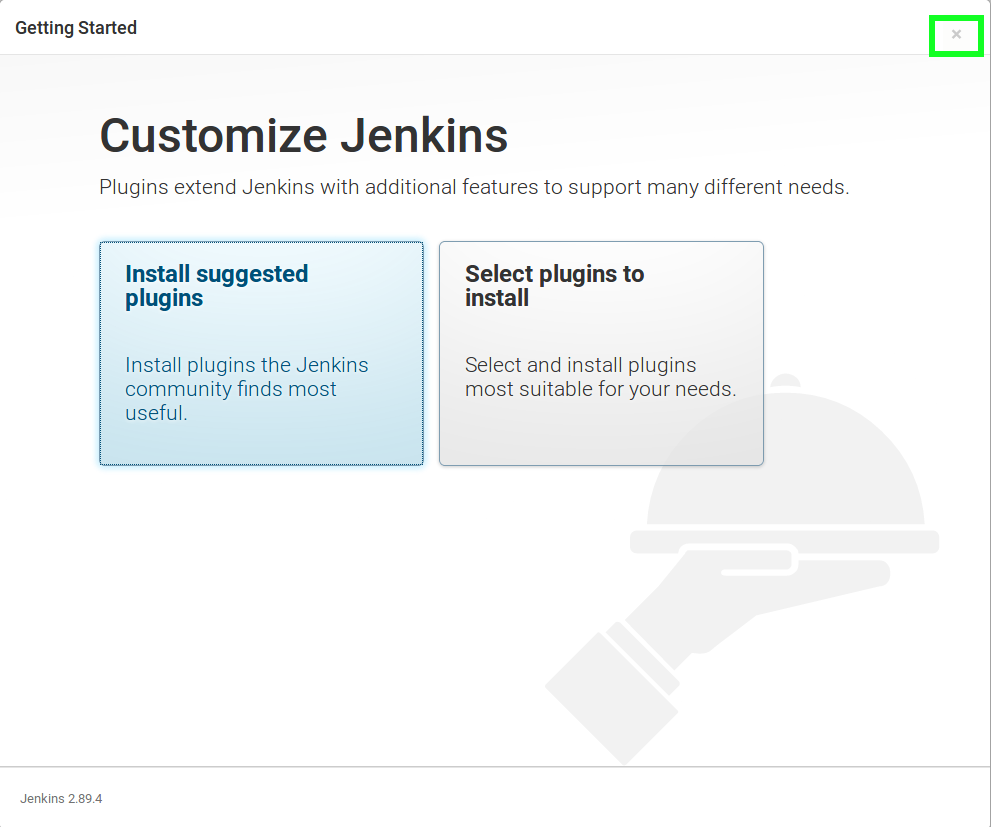
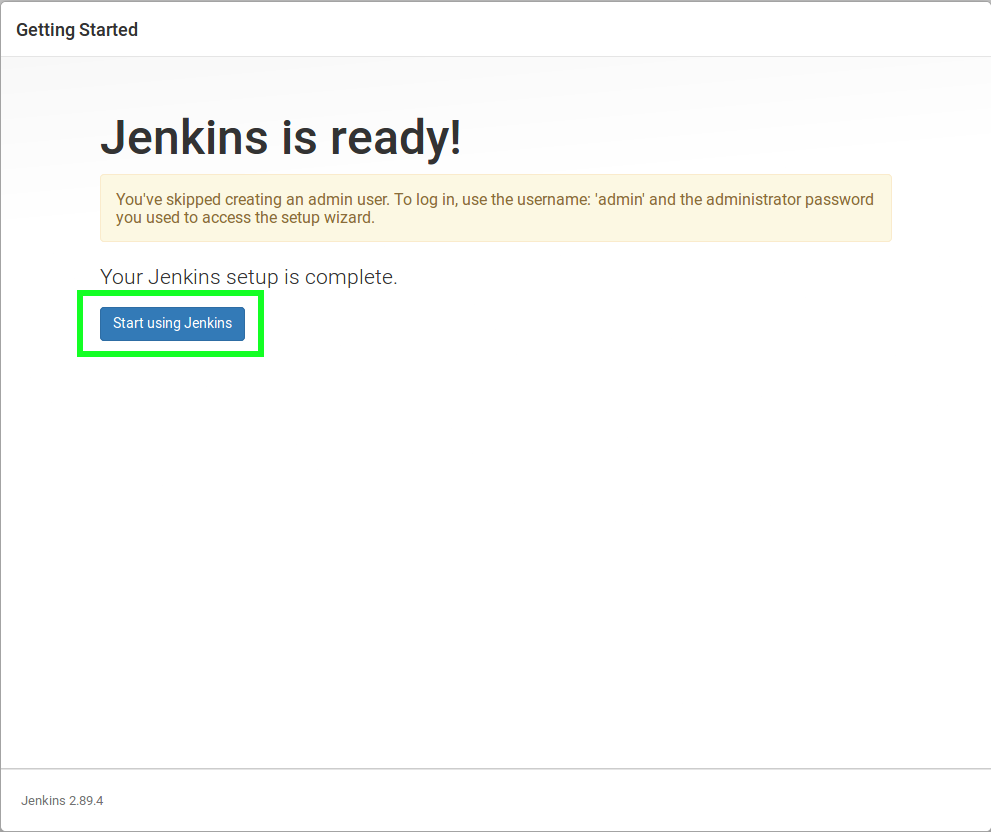
sudo systemctl restart nginxTest
Browse to the https://<hostname-or-ip> url and close off the two getting started popover windows and confirm you can login.
Outro
With the Jenkins server installed lets move onto Part 5 of this series: AWX Installation.
Links
https://wiki.jenkins.io/display/JENKINS/Installing+Jenkins+on+Red+Hat+distributions
https://wiki.jenkins.io/display/JENKINS/Jenkins+CLI
https://jenkins.io/projects/blueocean/
https://www.nginx.com/resources/wiki/start/topics/tutorials/install/
https://stackoverflow.com/questions/10066536/automatically-setup-jenkins-users-with-cli