Ansible Tower Part 1
published: 26th of March 2017
Intro
This is the first part of a three part series on Ansible Tower. In this series we will download, install, and configure Ansible Tower with user, groups and to execute jobs.
Code versions used for this lab
- Python - 2.7.5
- Ansible - 2.2.1
- Centos 7 - minimal 1511
- Ansible Tower - 3.1.1
Ansible Tower Components
Tower is the GUI based management system for Ansible. Installing it can be quite simple, in fact Tower can be installed in only a few steps.
- Download and extract the tar file
- Run the setup script
- Apply the license
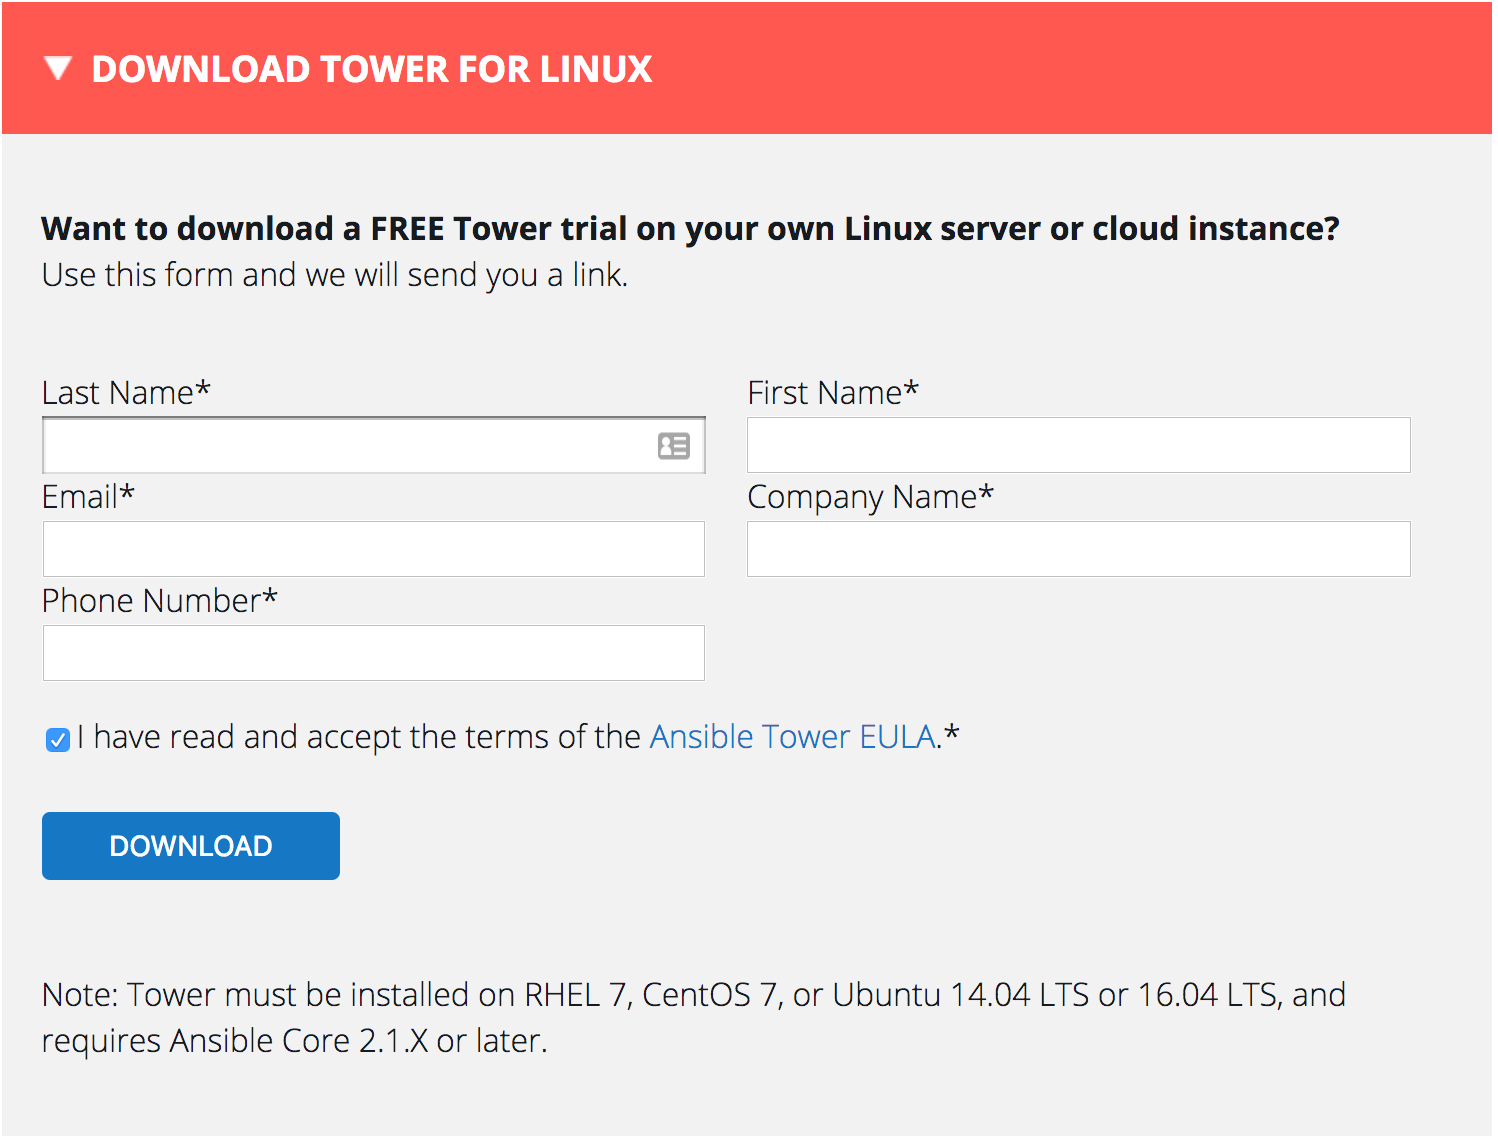
Get Ansible Tower
Go to https://www.ansible.com/tower-trial and enter your details to download the .tar installation file. There are a number of methods to start a trial with Ansible, we will use the tower for linux method.
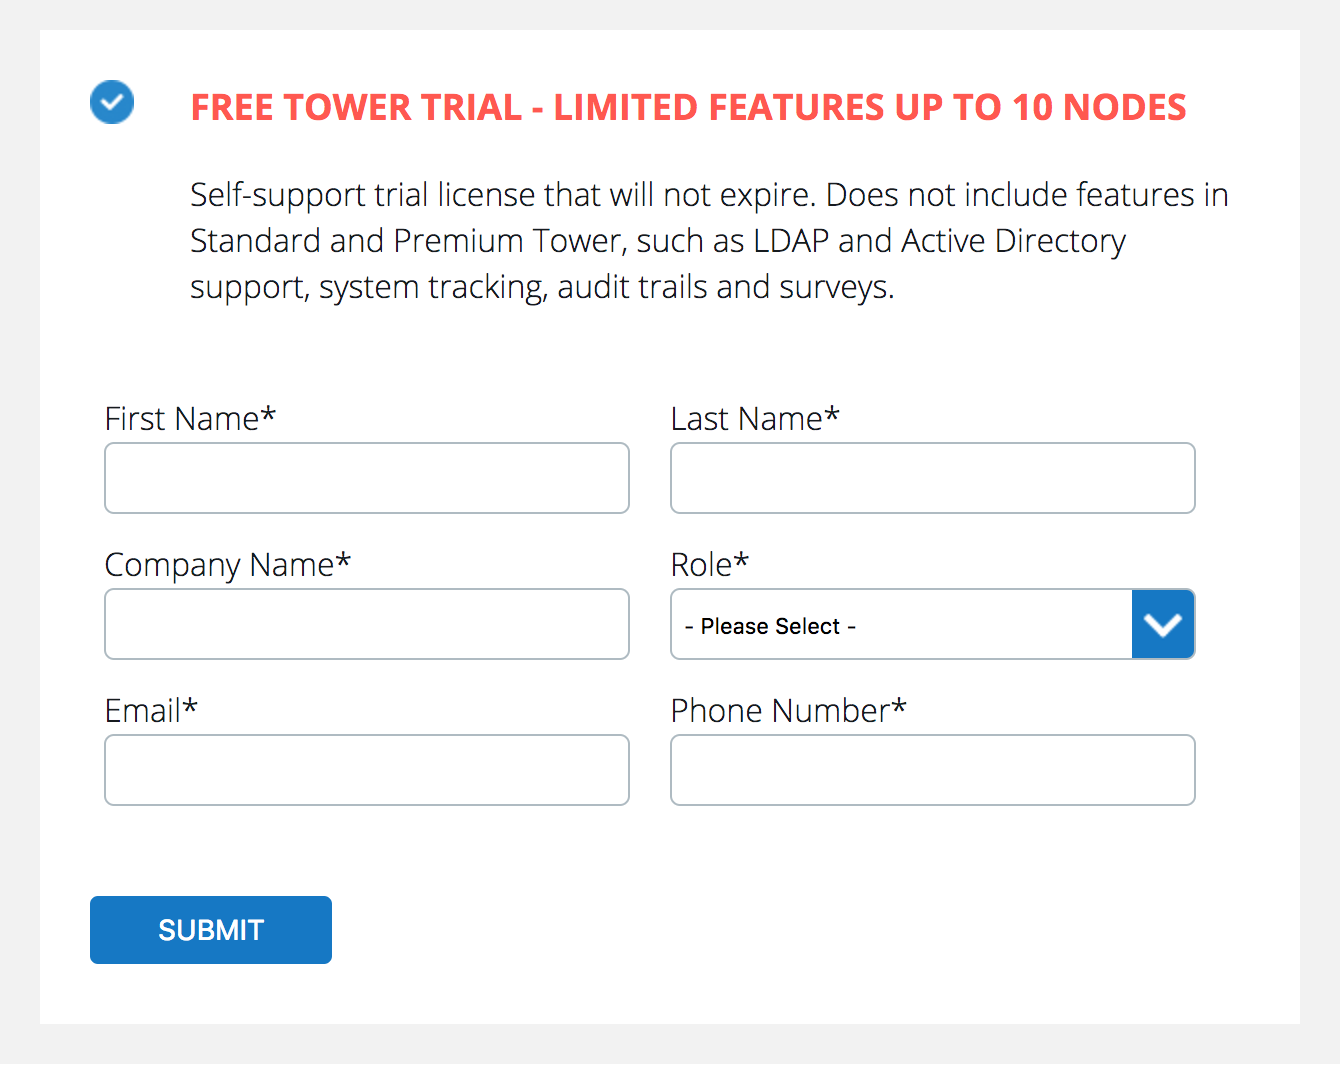
License
Go to https://www.ansible.com/license and order a trial license. Fill in your details and the license key will get sent to you in an email.
Install
There are three installation methods for Ansible Tower
- Single host internal database
- Single host external database
- Multiple host in HA with a shared external database
For this tutorial we will use the install on a single server with internal database method.
There are some requirements on the server that tower will be installed on:
- Anisble is installed via distributions package managaer
- User executing the setup script has root/sudo privileges
# Ansible is in the epel-release repository on yum distributions
sudo yum -y install epel-release
sudo yum -y install ansible

# Assuming ansible-tower-setup-latest.tar.gz is in ~/ directory
# extract the .tar file
cd ~/
tar -xvf ansible-tower-setup-latest.tar.gz

# change to ansible-tower-setup-3.1.1 directory
cd ansible-tower-setup-3.1.1
Edit the inventory file and add the required passwords.
- admin_password
- pg_password
- rabbitmq_password
I have used redhat for all three.
# ~/ansible-tower-setup-3.1.1/inventory
[tower]
localhost ansible_connection=local

[database]

[all:vars]
admin_password='redhat'

pg_host=''
pg_port=''

pg_database='awx'
pg_username='awx'
pg_password='redhat'

rabbitmq_port=5672
rabbitmq_vhost=tower
rabbitmq_username=tower
rabbitmq_password='redhat'
rabbitmq_cookie=cookiemonster

# Needs to be true for fqdns and ip addresses
rabbitmq_use_long_name=false
Edit the /etc/ansible/ansible.cfg file and uncomment ask_sudo_pass = True.
# Snippet from /etc/ansible/ansible.cfg
[defaults]
#inventory      = /etc/ansible/hosts
#library        = /usr/share/my_modules/
#remote_tmp     = ~/.ansible/tmp
#local_tmp      = ~/.ansible/tmp
#forks          = 5
#poll_interval  = 15
#sudo_user      = root
ask_sudo_pass = True
#ask_pass      = True
#transport      = smart
#remote_port    = 22
#module_lang    = C
#module_set_locale = False
To install Tower, execute the setup.sh as a sudo user. This will kickoff the playbook install.yml.
# Start Tower install
sudo ./setup.sh
[sudo] password for admin:
Using /etc/ansible/ansible.cfg as config file
SUDO password:
# output
PLAY [tower:database] **********************************************************
TASK [check_config_static : Ensure expected variables are defined] *************
skipping: [localhost] => (item=tower_package_name) => {"changed": false, "item": "tower_package_name", "skip_reason": "Conditional check failed", "skipped": true}
skipping: [localhost] => (item=tower_package_version) => {"changed": false, "item": "tower_package_version", "skip_reason": "Conditional check failed", "skipped": true}
skipping: [localhost] => (item=tower_package_release) => {"changed": false, "item": "tower_package_release", "skip_reason": "Conditional check failed", "skipped": true}
TASK [check_config_static : Ensure at least one tower host is defined] *********
skipping: [localhost] => {"changed": false, "skip_reason": "Conditional check failed", "skipped": true}
TASK [check_config_static : Ensure only one database host exists] **************
skipping: [localhost] => {"changed": false, "skip_reason": "Conditional check failed", "skipped": true}
.
.
.
Many, Many, Many, Many Tasks Later
.
.
.
PLAY RECAP *********************************************************************
localhost : ok=115 changed=56 unreachable=0 failed=1
The setup process completed successfully.
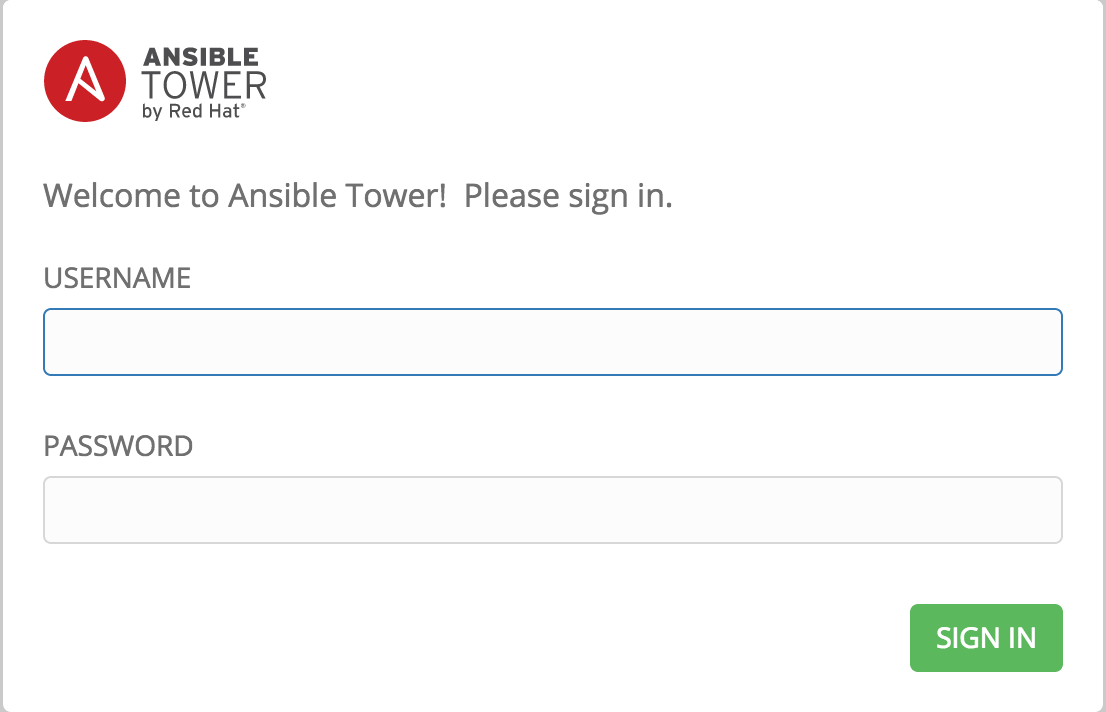
Setup log saved to /var/log/tower/setup-2017-03-11-17:45:09.logBrowse to the tower url https://<tower-hostname-or-ip> and login with the username admin and the admin_password previously set in the inventory file.
Remember the license file we requested earlier? By now it should have been emailed to you. Upload it via the browse button.
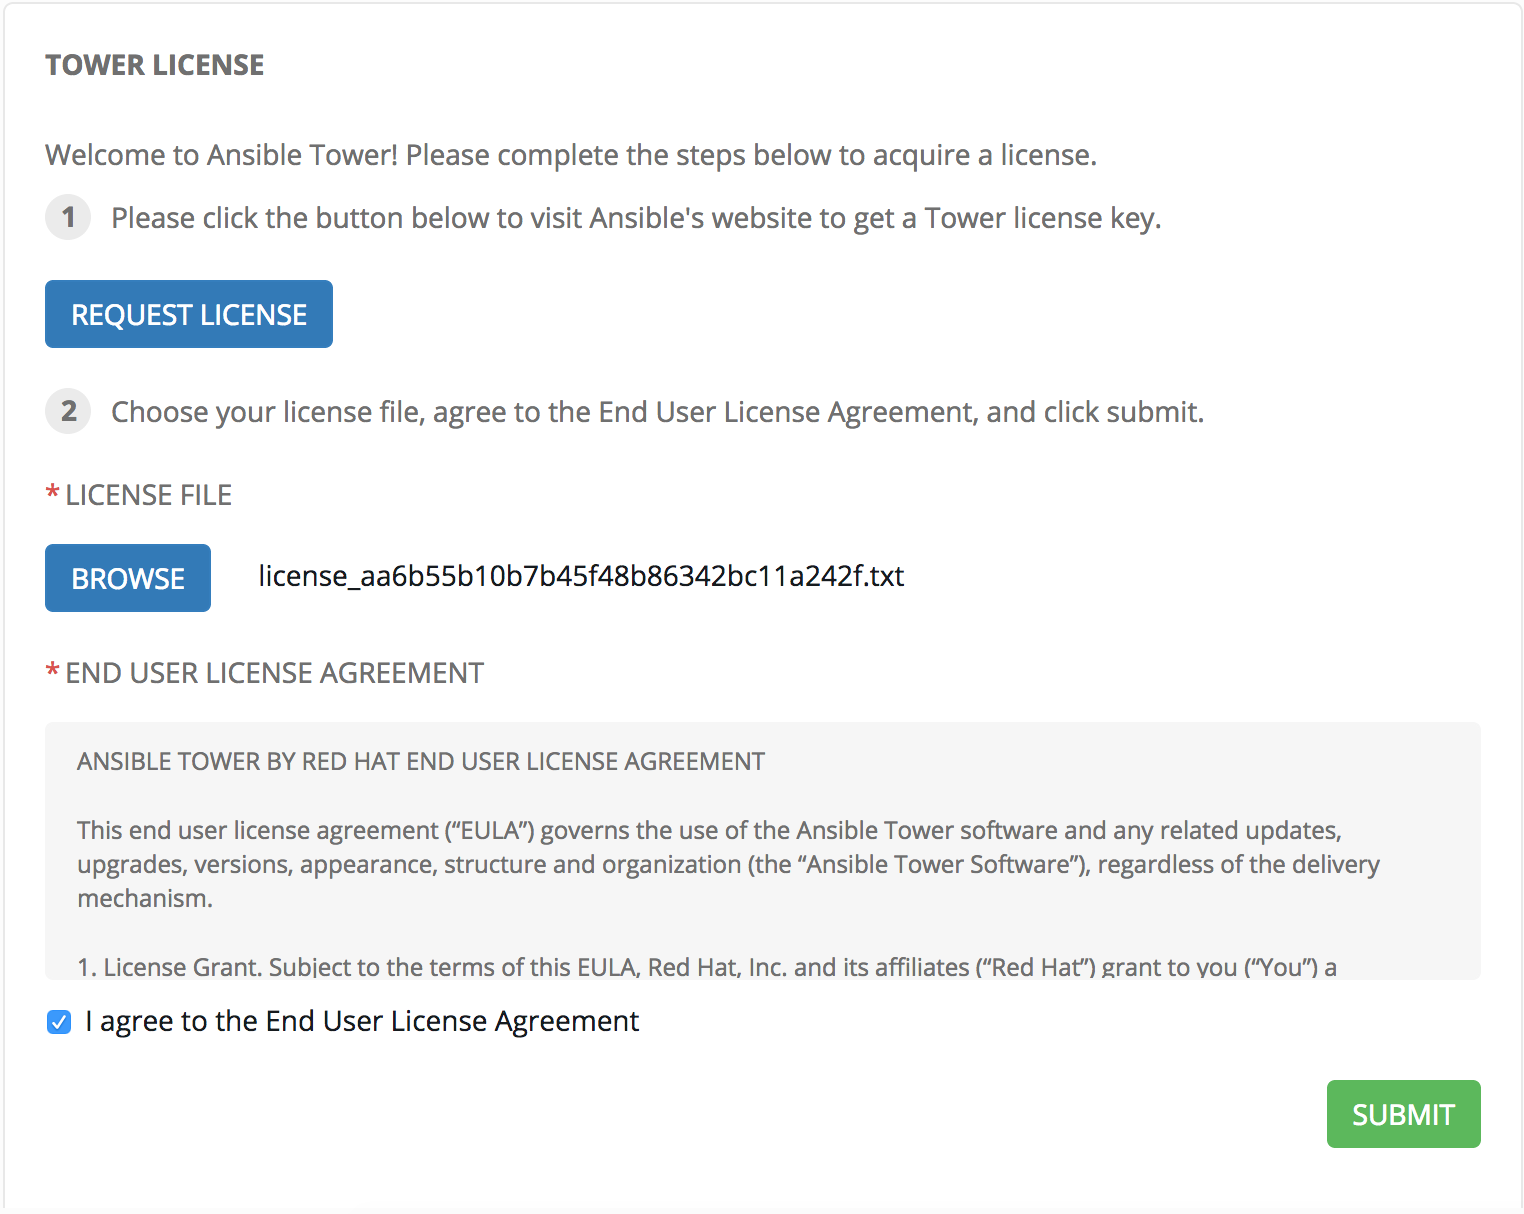
The license is in JSON format and looks like this.
{
"company_name": "company.abc",
"contact_email": "your@email.com",
"contact_name": "your name",
"hostname": "giberish-string",
"instance_count": 10,
"license_date": 2120361496,
"license_key": "license-key",
"license_type": "basic",
"subscription_name": "Ansible Tower by Red Hat, Self-Support (10 Managed Nodes)"
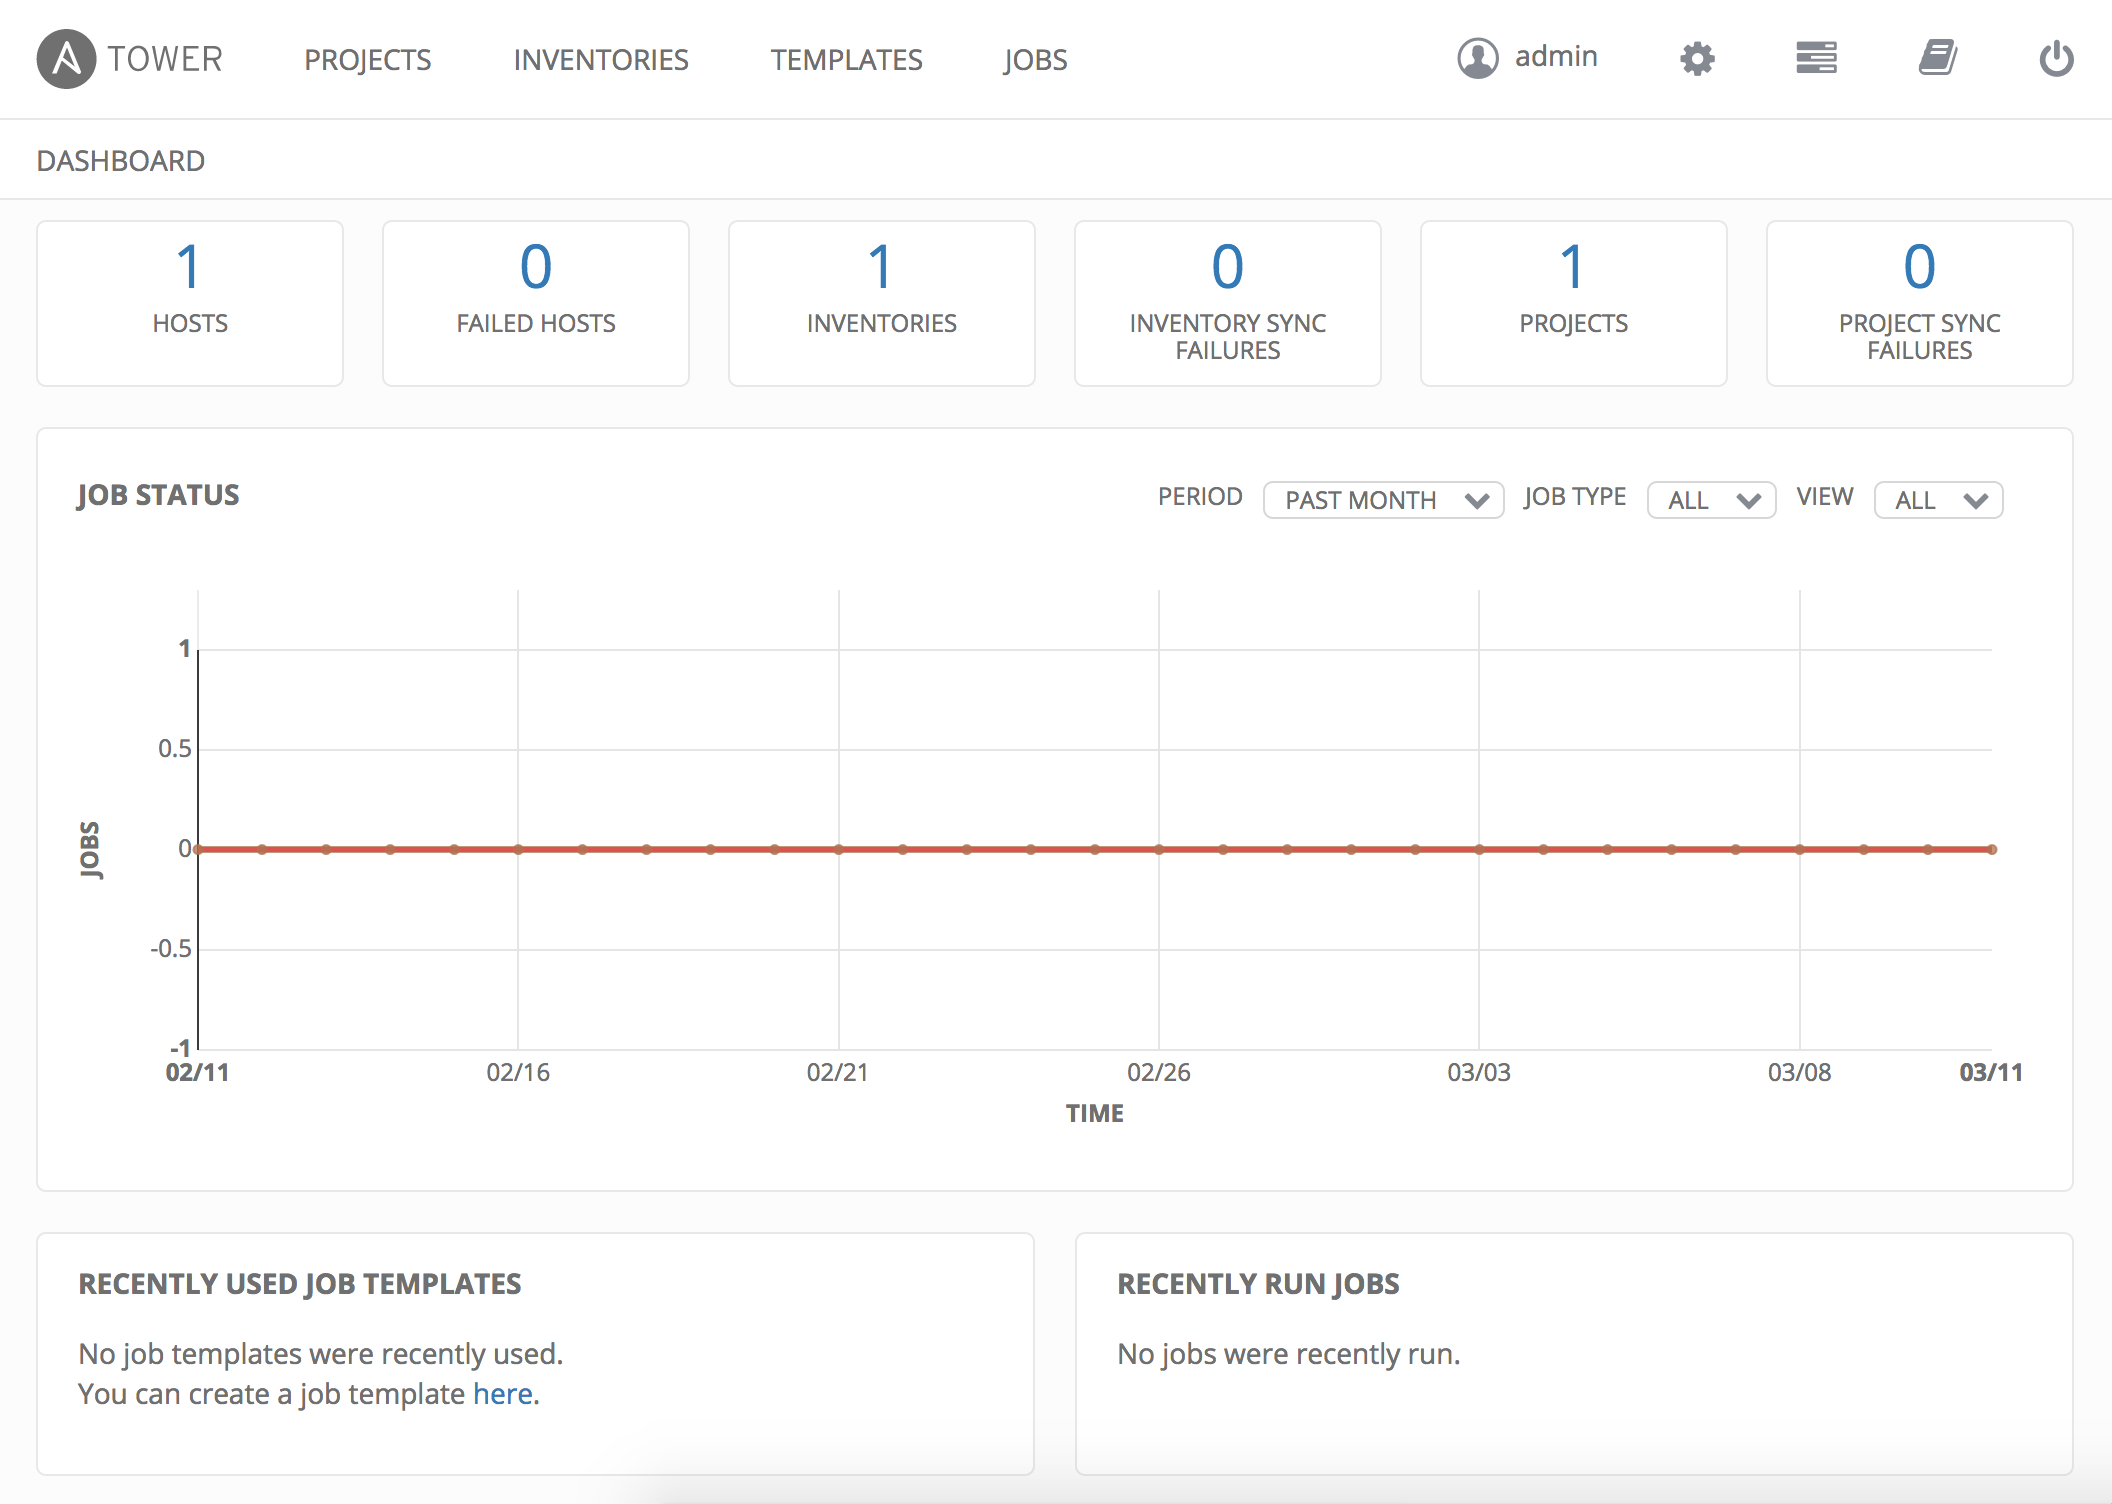
}Once the license file is uploaded you will be redirected to the Tower home screen.
Outro
There you have it, Ansible Tower is now installed and ready to be configured. In part 2 of this series we will configure Ansible Tower with users and groups.