Ansible AWX Part 1
published: 2nd of October 2017
Intro
Ansible AWX is the upstream open source project to Ansible Tower.
This is the first part of a series on Ansible AWX. In this part we will install Ansible AWX.
Code versions used for this post
- Centos 7 - minimal 1705.02 (vagrant box)
- Python - 2.7.13
- Ansible - 2.4.0
- docker - 1.12.6
- Ansible AWX - 1.0.0.577
Centos 7 minimal ships with python 2.7.5 which is pretty old, I will be installing python 2.7.13 for use with ansible. I have a guide to install python 2.7.13 and 3.6.2 here and an ansible role here.
Ansible AWX Components
AWX is a web GUI based management system for Ansible. AWX is built with a microservices architecture using docker as the container runtime. Redhat provide an installer playbook as part of AWX which can build onto either an openshift cluster or a stand alone docker install. This post will use the stand alone docker method.
Pre Installation Tasks
Prior to installing AWX we will need to prepare the system.
Install required YUM packages
yum install -y epel-release
yum install -y git gettext docker nodejs npm gcc-c++ bzip2
Install required PIP packages
Install the ansible and docker python libraries via PIP to get the latest stable releases.
pip2 install ansible dockerStart and enable docker service
systemctl start docker
systemctl enable docker
Open firewall ports
firewall-cmd --permanent --add-service=http
firewall-cmd --permanent --add-service=https

firewall-cmd --reload
Set SELinux to Permissive
I dont know the necessary SELinux policies to make AWX function correctly so I am setting the policy to permissive.
setenforce permissiveTo make the changes permanent set the SELINUX variable under /etc/selinux/config to permissive and reboot.
SELINUX=permissiveInstall AWX
Now that pre-installation tasks are completed lets install AWX.
Clone AWX Git repo
mkdir /opt/ansible
cd /opt/ansible

git clone https://github.com/ansible/awx.git
Edit the inventory file
If you followed my guide on upgrading python2/3 then you will need to change the ansible_python_interpreter variable in the /opt/ansible/awx/installer/inventory file from /usr/bin/env python to /usr/local/bin/python2.7
#/opt/ansible/awx/installer/inventory

# old
localhost ansible_connection=local ansible_python_interpreter="/usr/bin/env python"

# new
localhost ansible_connection=local ansible_python_interpreter="/usr/local/bin/python2.7"
Run the install playbook
cd /opt/ansible/awx/installer/

ansible-playbook -i inventory install.yml
Login to AWX
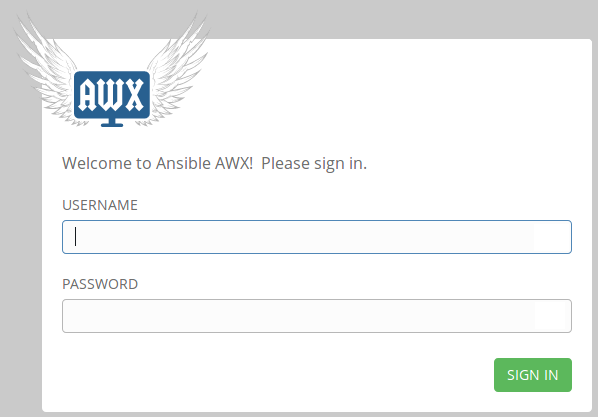
Once the playbook is complete you can login to AWX via the web GUI.
Browse to the AWX url http://<awx-hostname-or-ip> and login with the username admin and the password is password. Note: The password can be set in the inventory file with the default_admin_password variable.
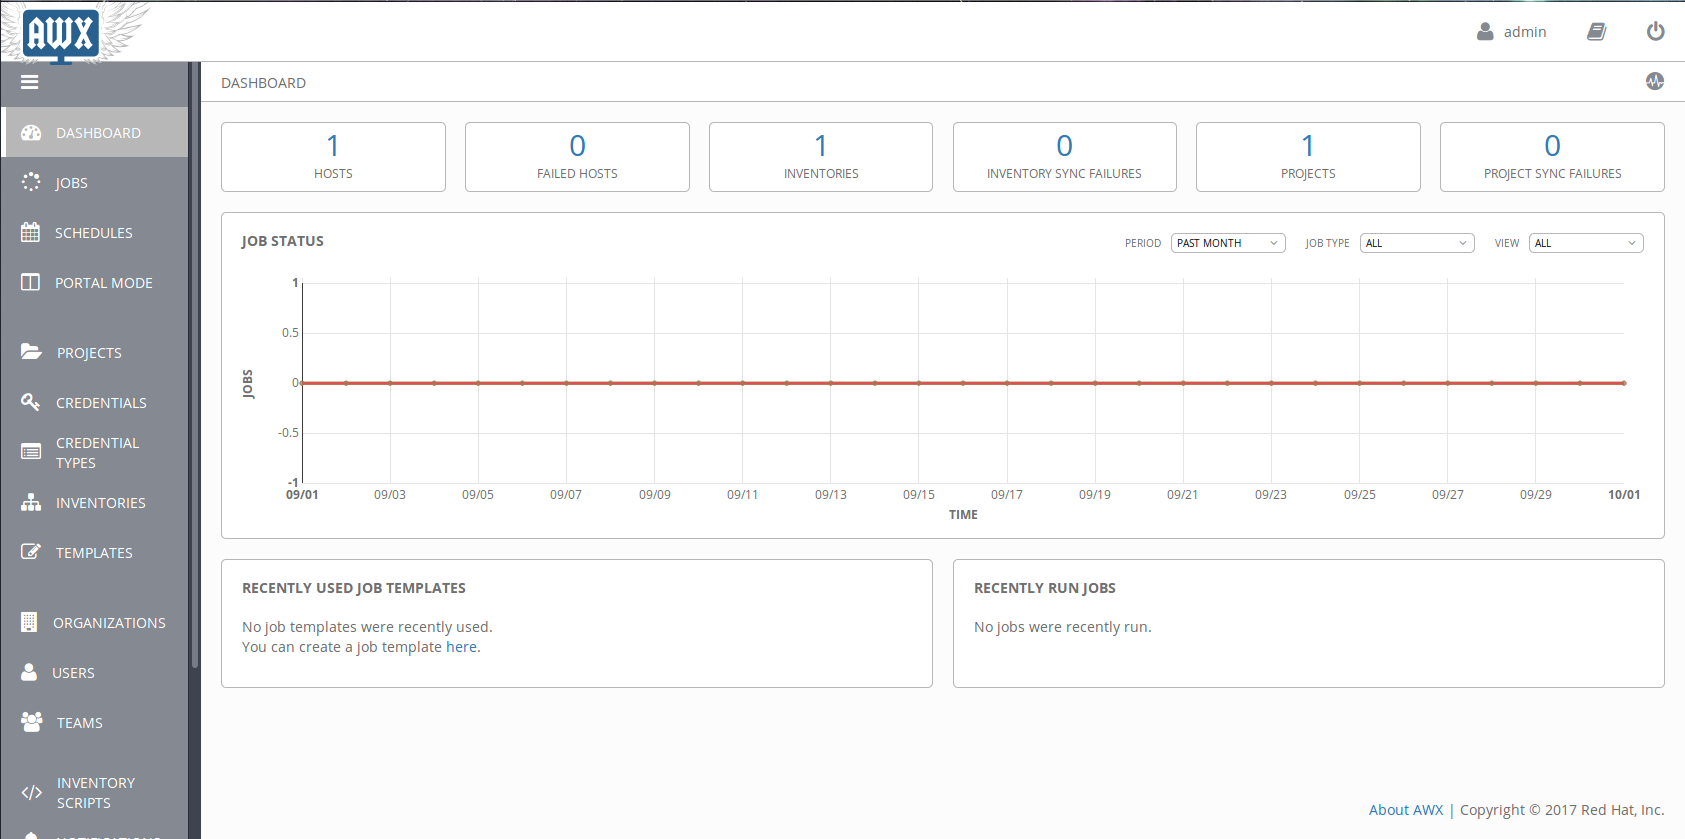
The dashboard looks like this

Outro
Ansible AWX is now installed and ready to be configured. In future posts I will configure AWX for use with network devices.